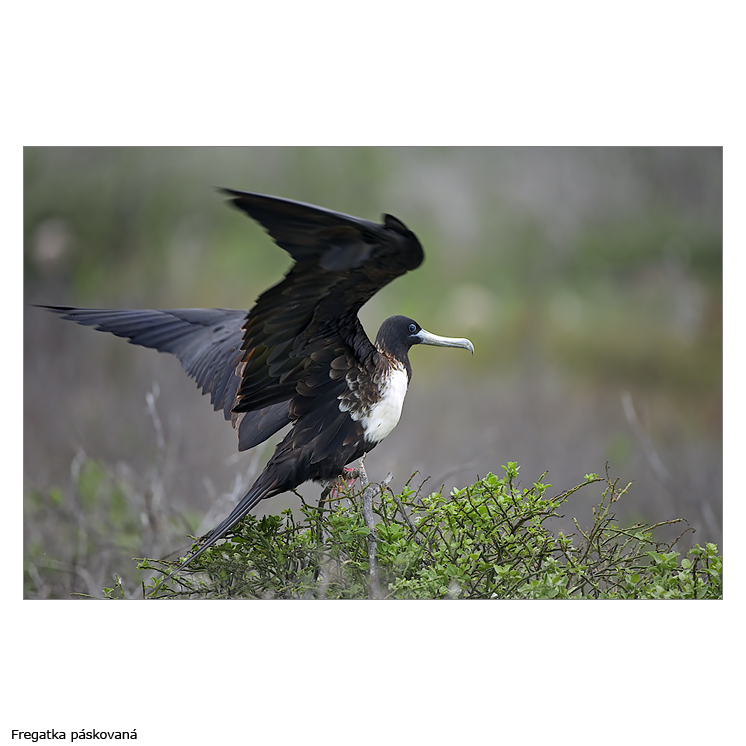
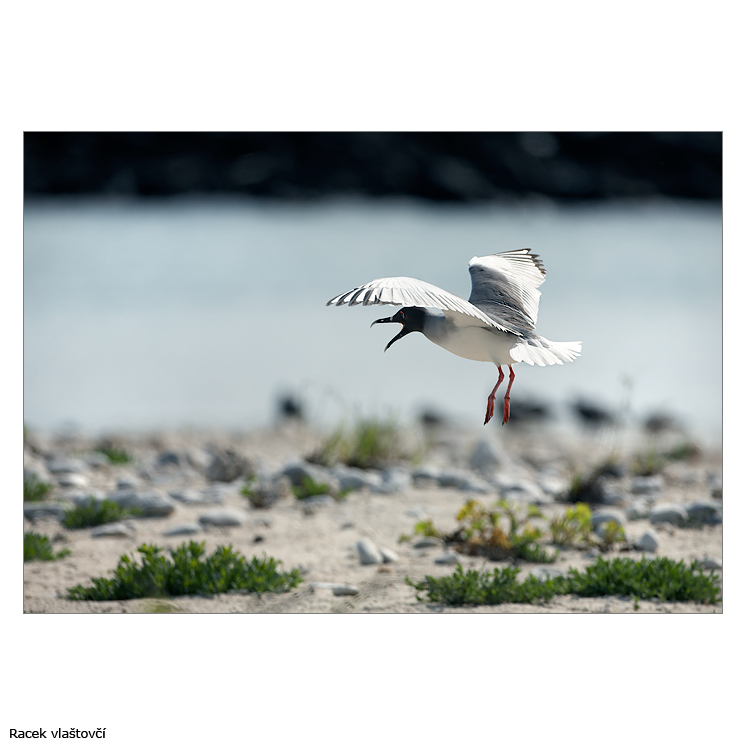
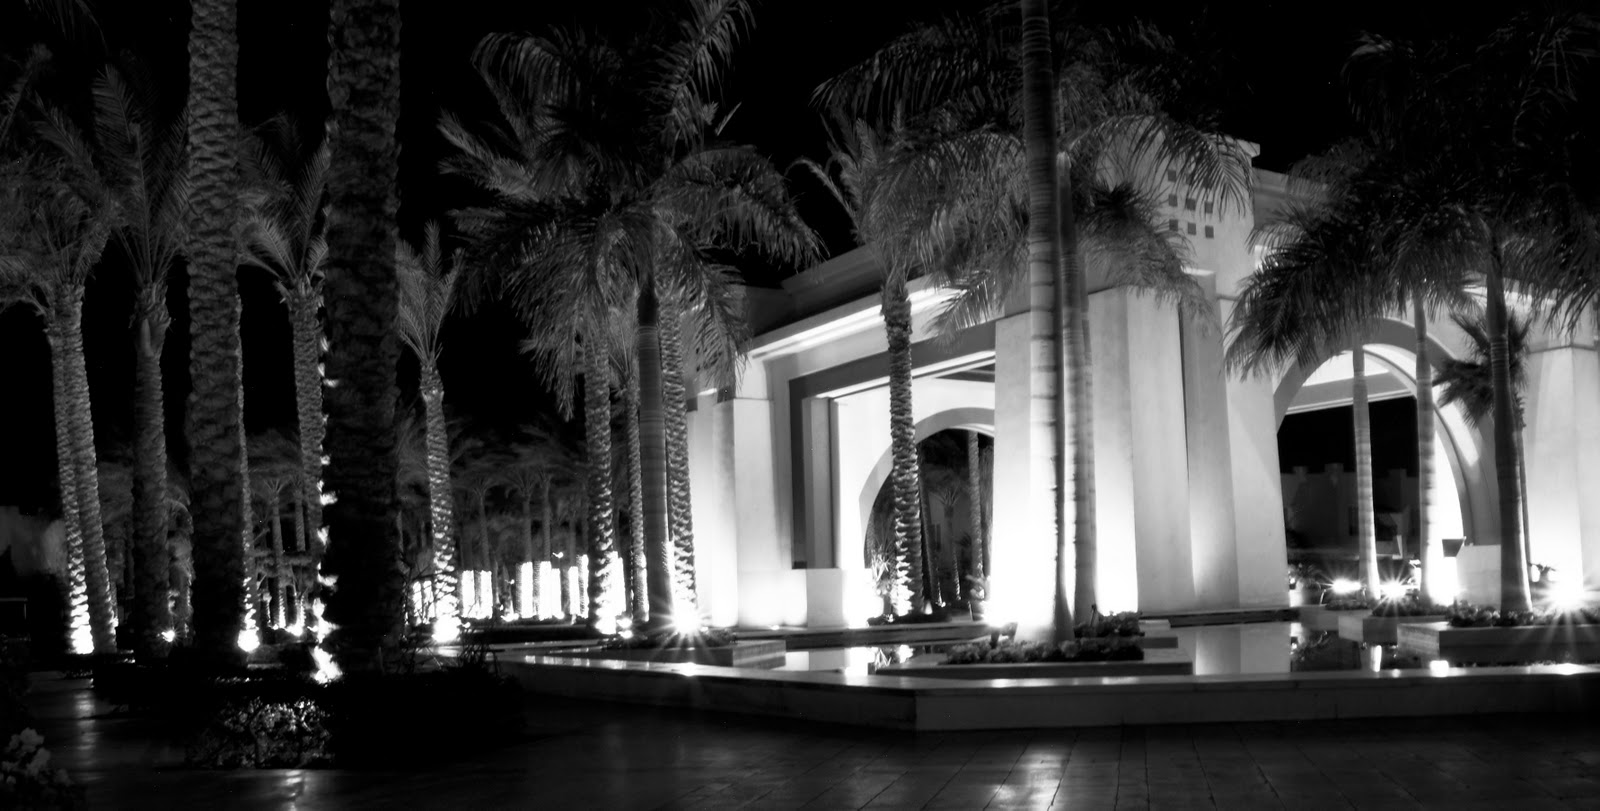
The weather was miserable, dark, gloomy and non stop rain and I struggled to get good close up shots of the birdlife on the reserve. Having to use an ISO of 800 and an increase to the Exposure Compensation this simply resulted in a lot of noise. With the lighting being so dark it was impossible to use a shutter of around 1/400 which is what I would have liked to have used. I had to keep the shutter at around 1/60, 1/80 with the ISO at 800 throughout most of the day.
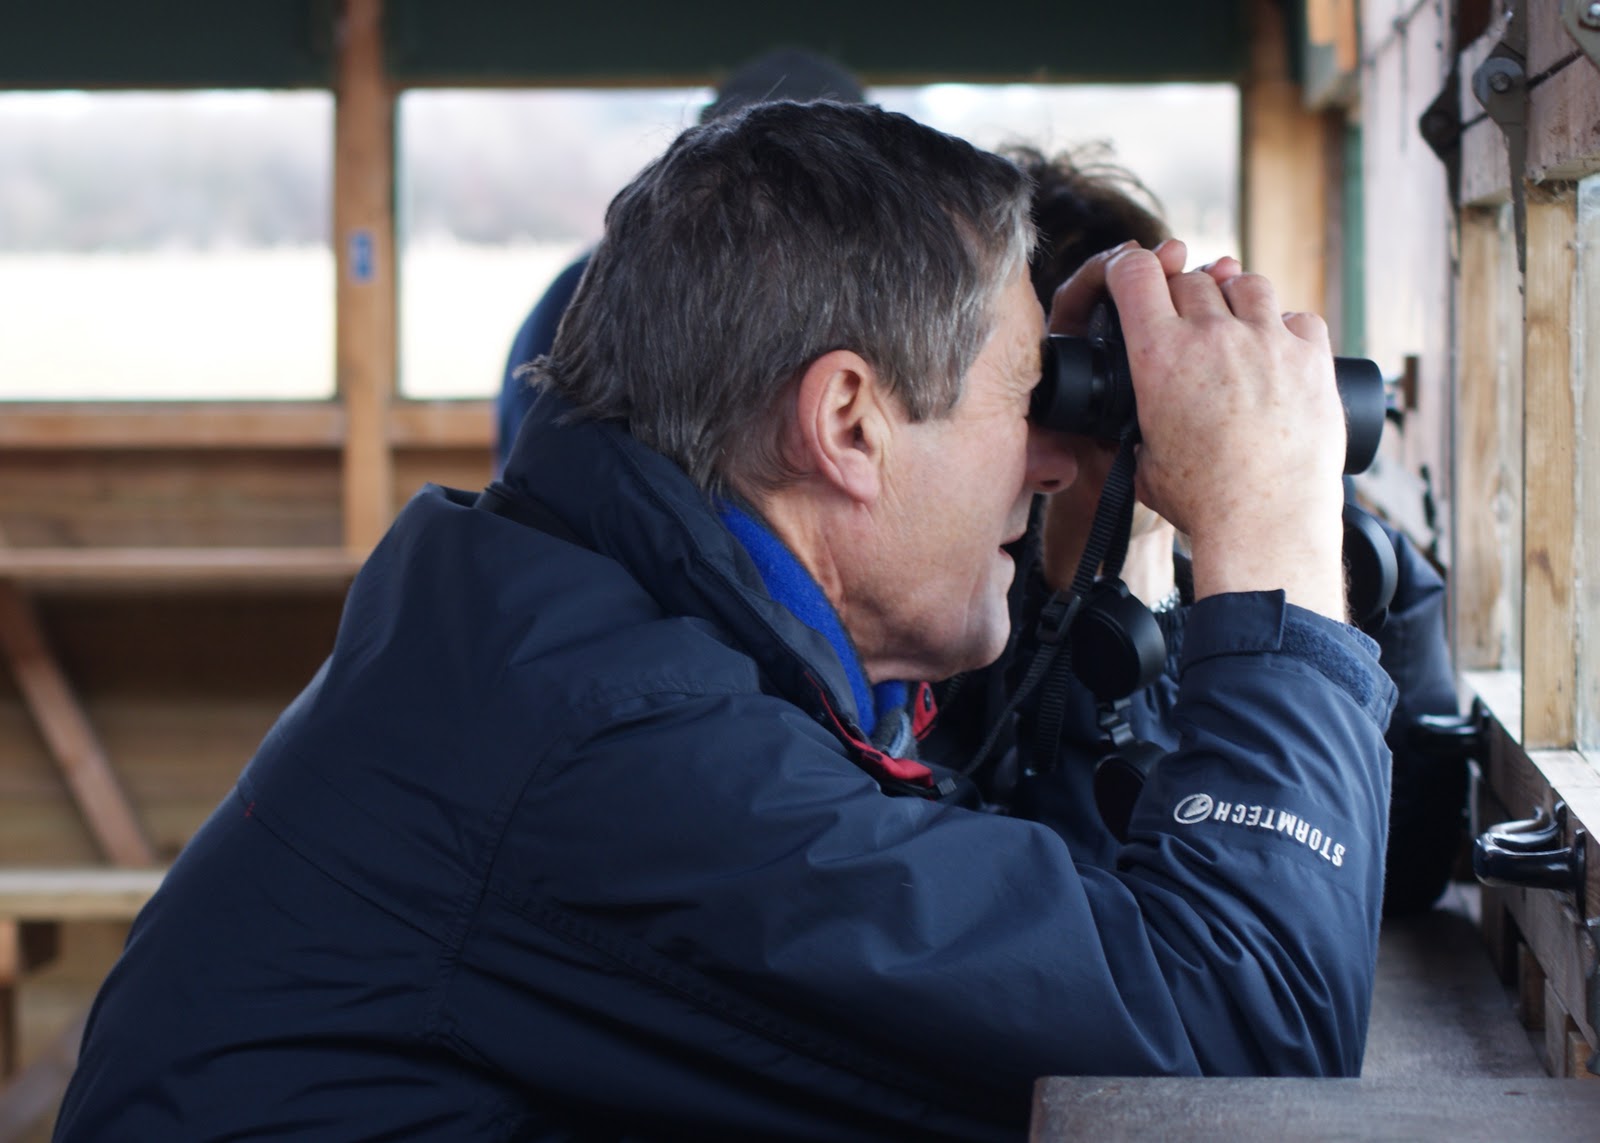
Here are a couple of images taken yesterday, unfortunately the one's of the birds were no better than the first set I'd taken a couple of weeks ago.
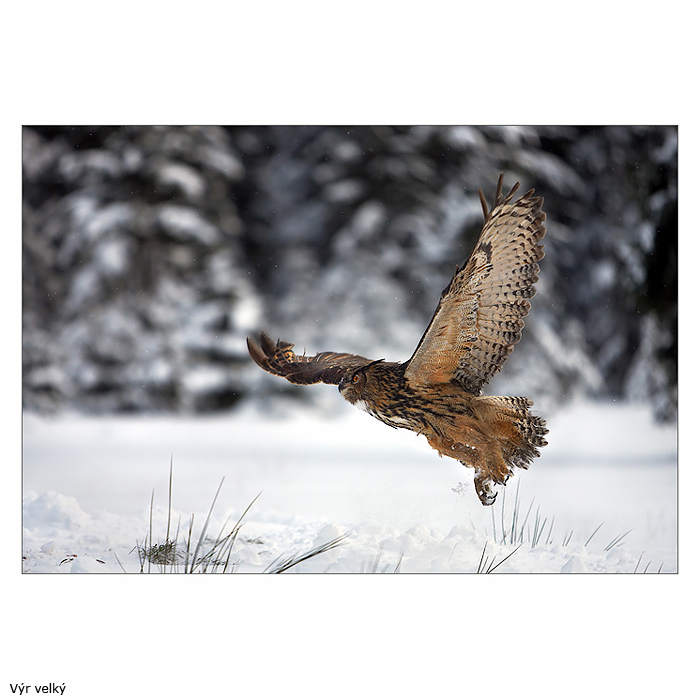
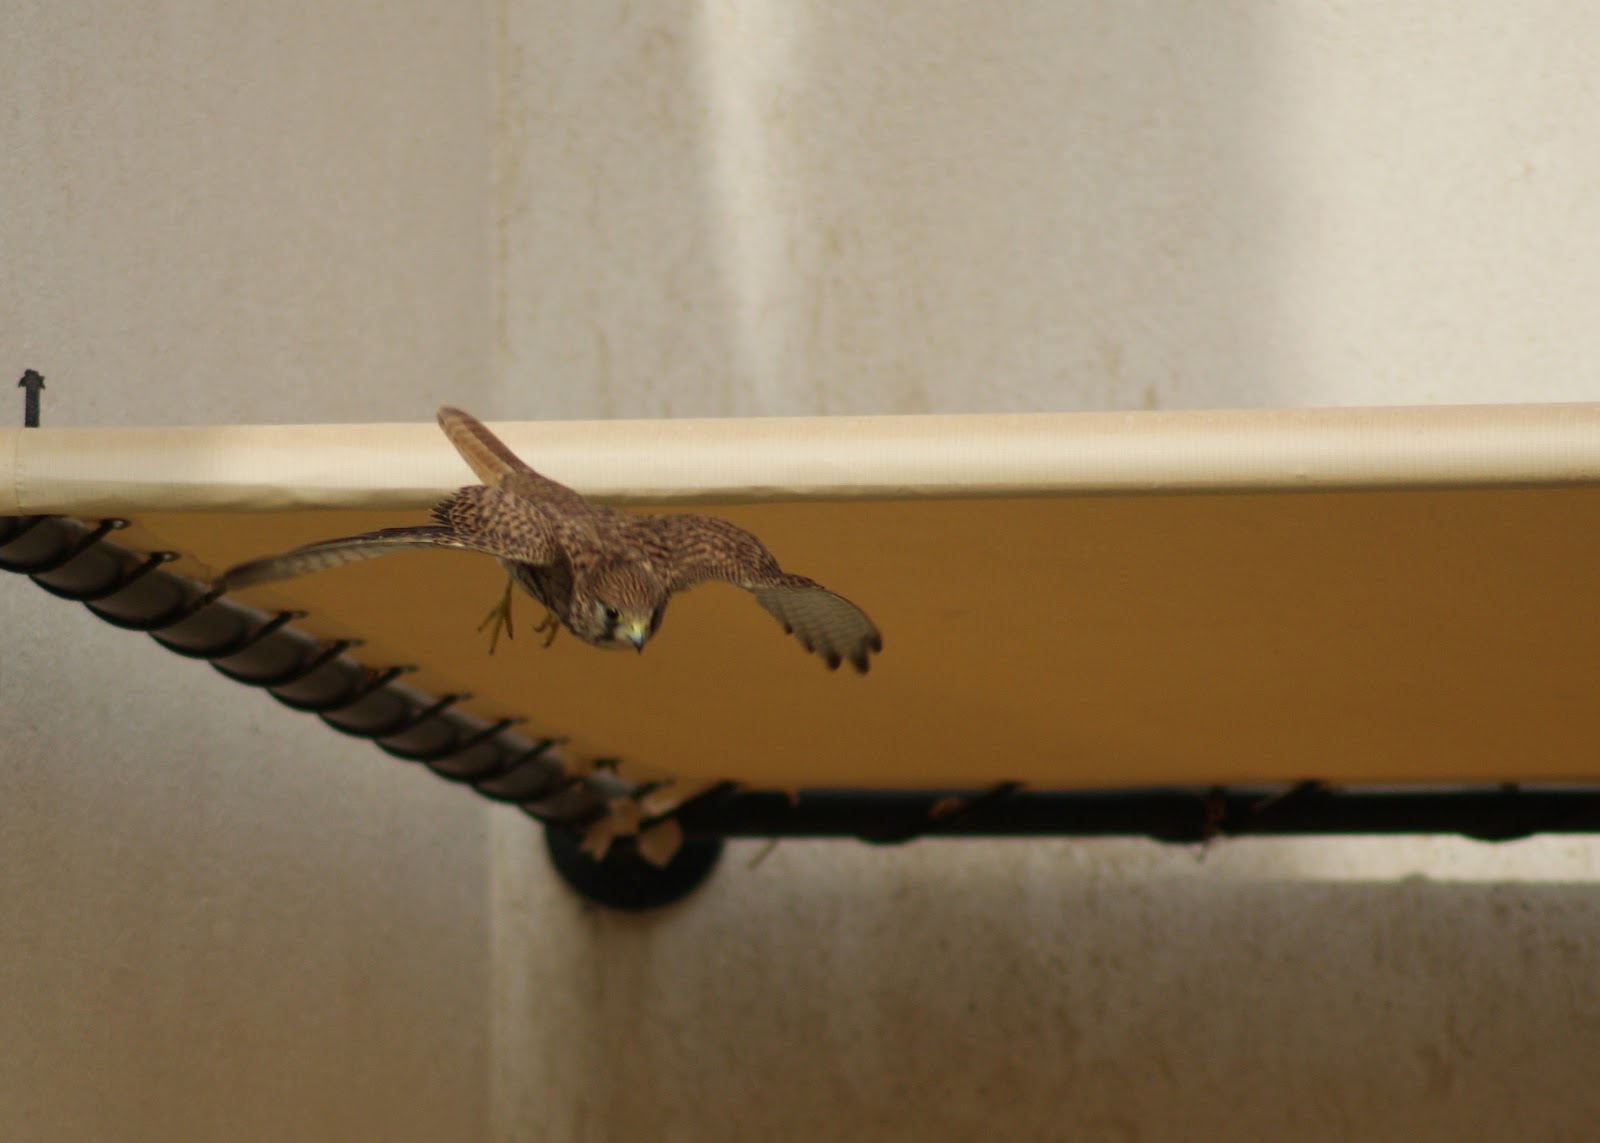
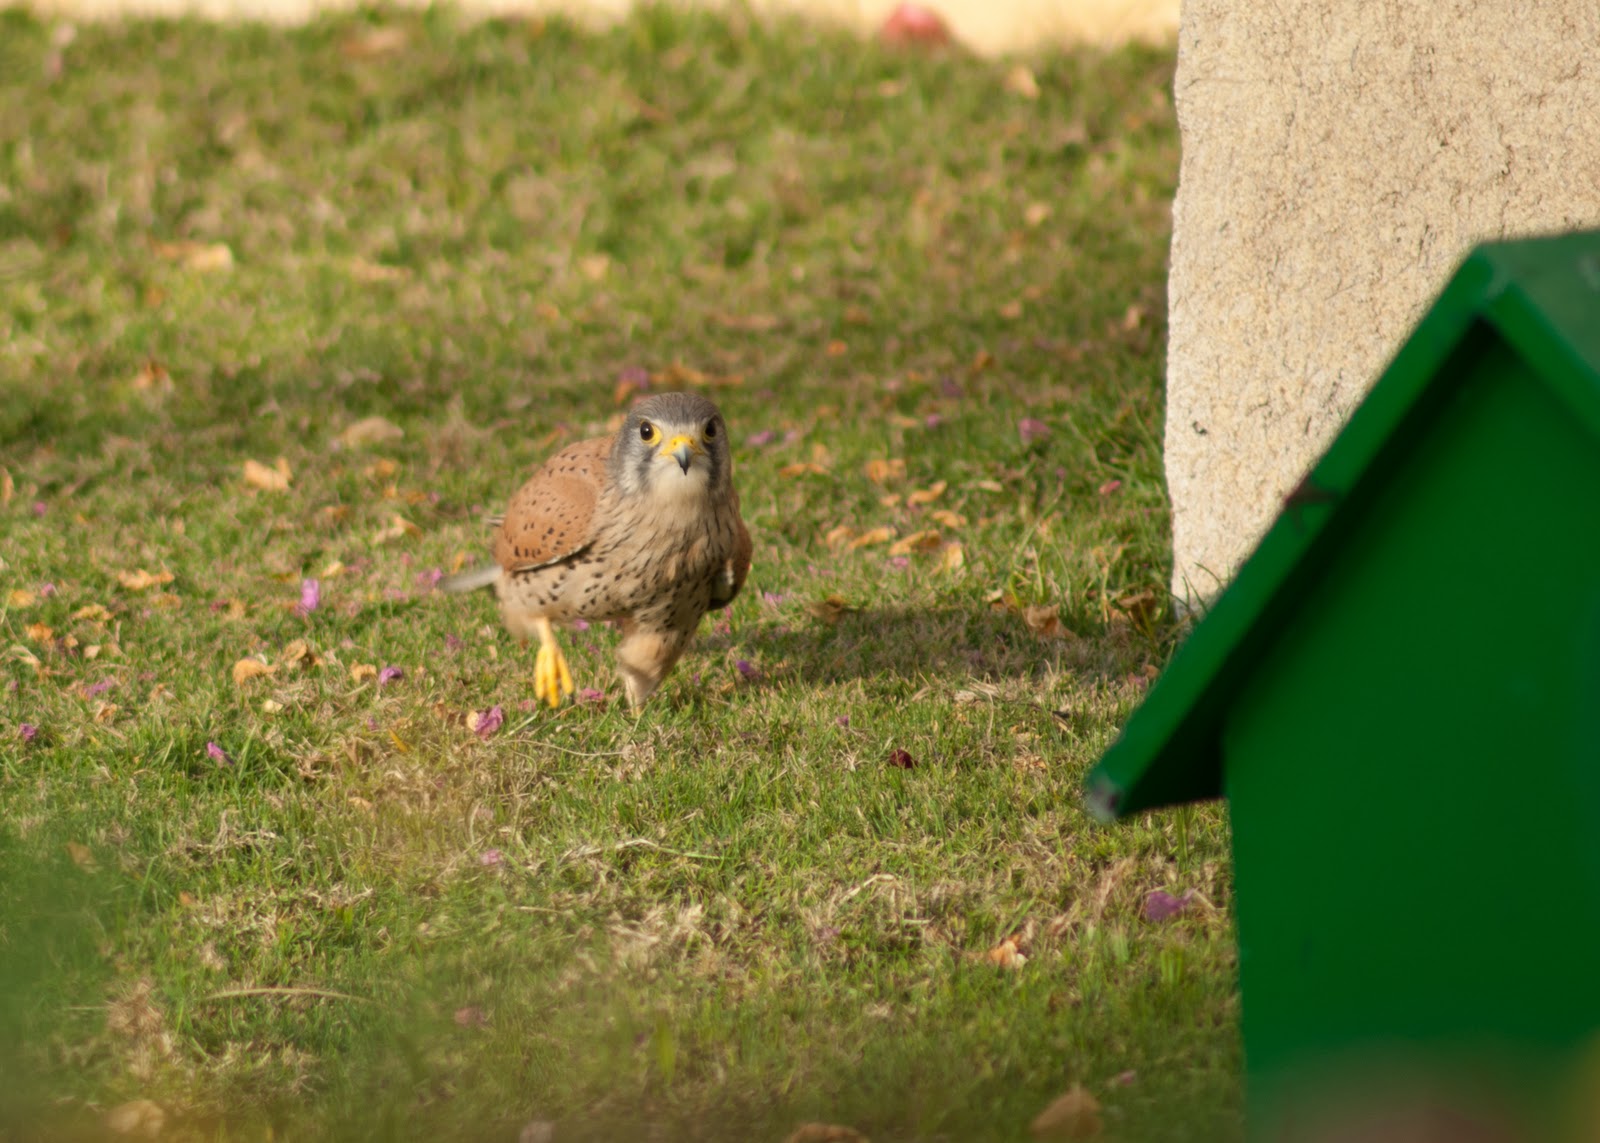
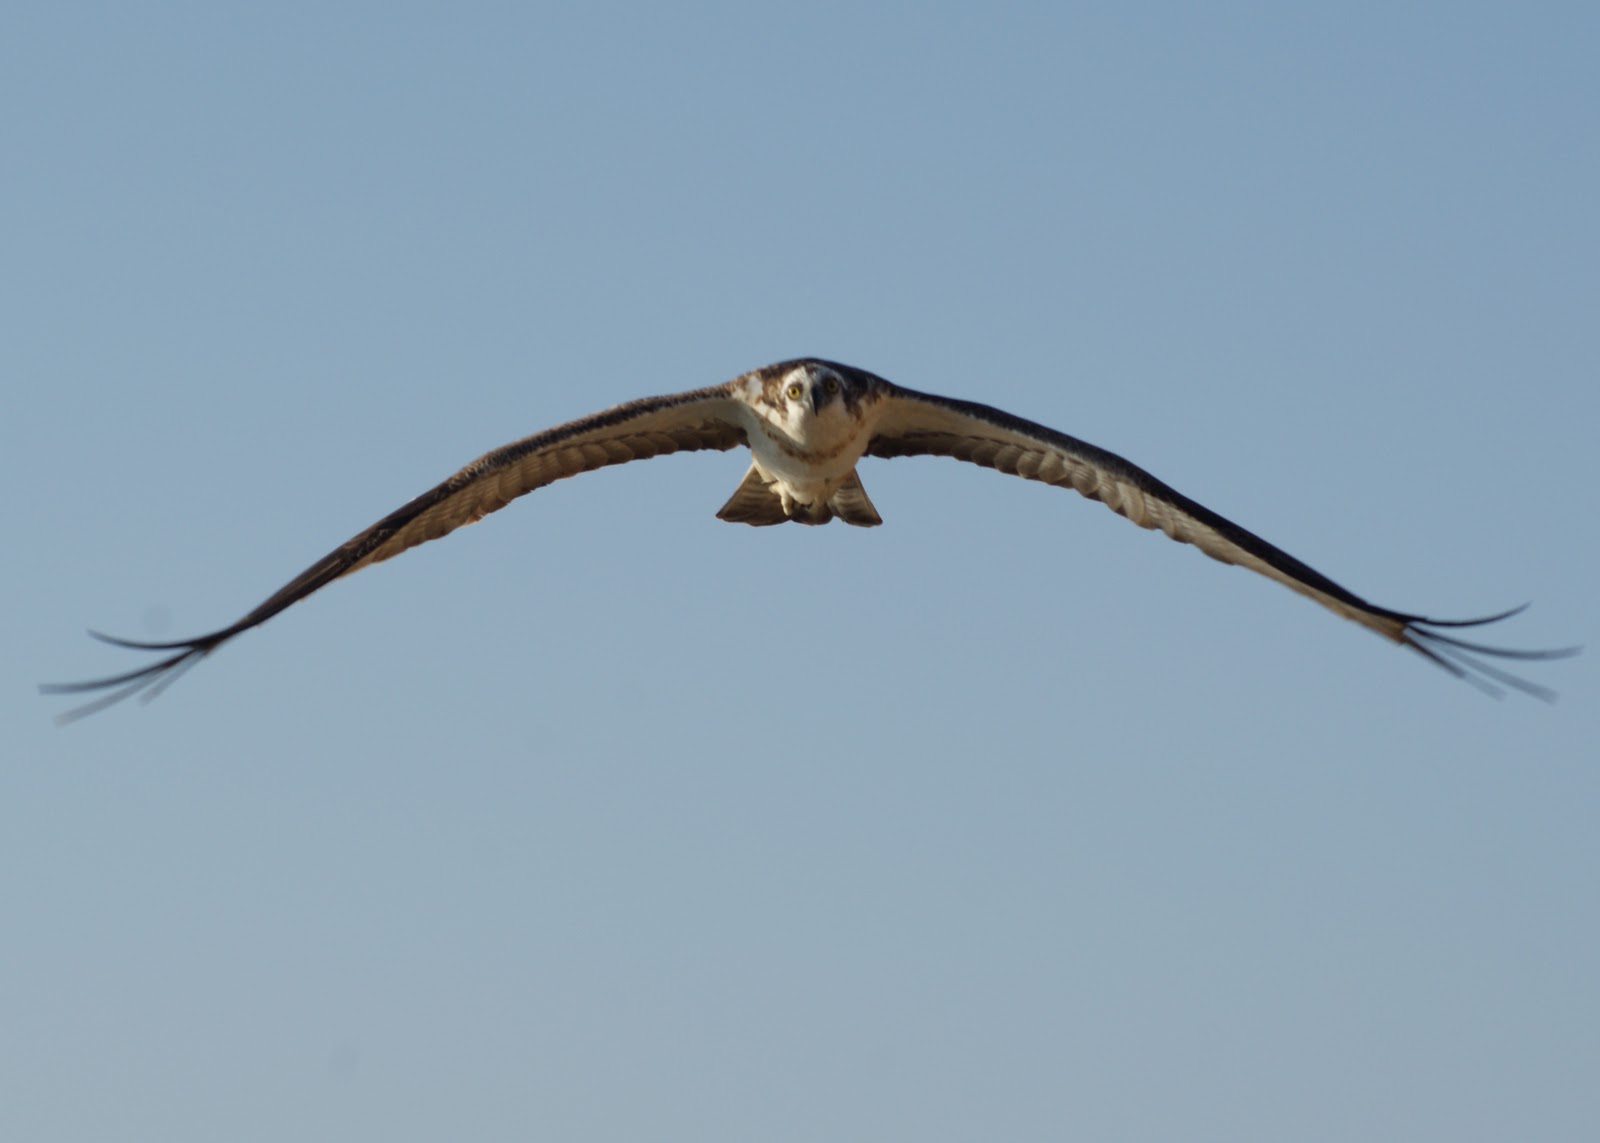
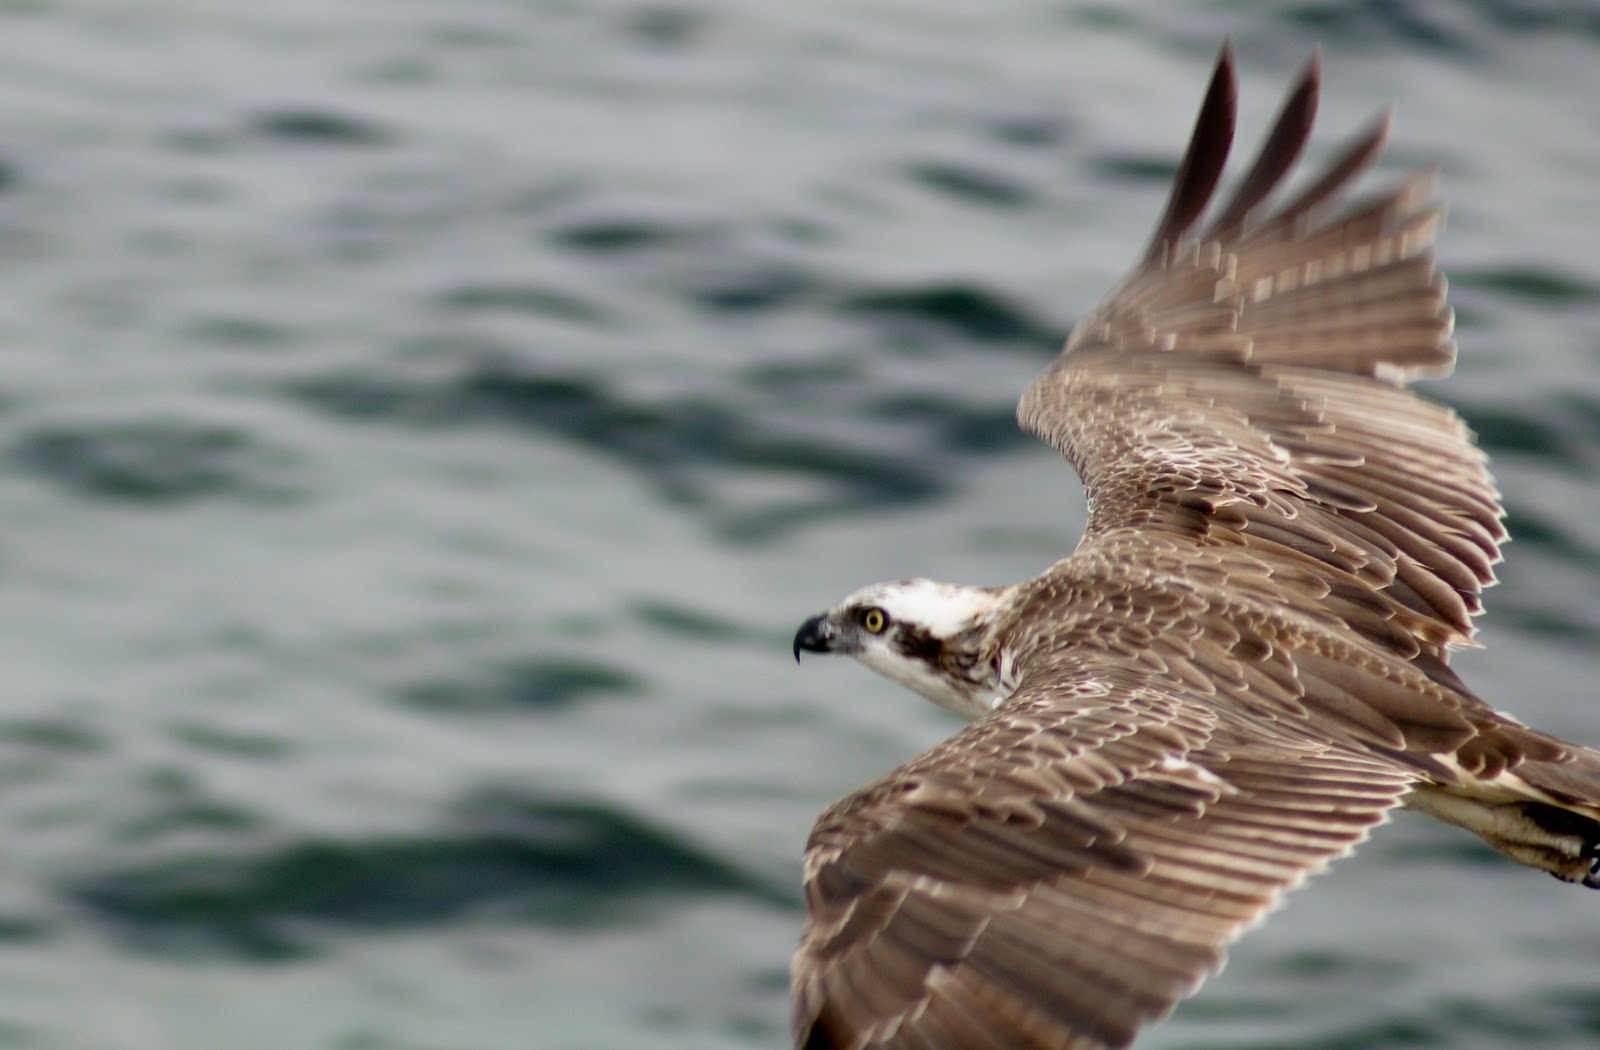
ISO 800 (and a lot of noise) S 1/60
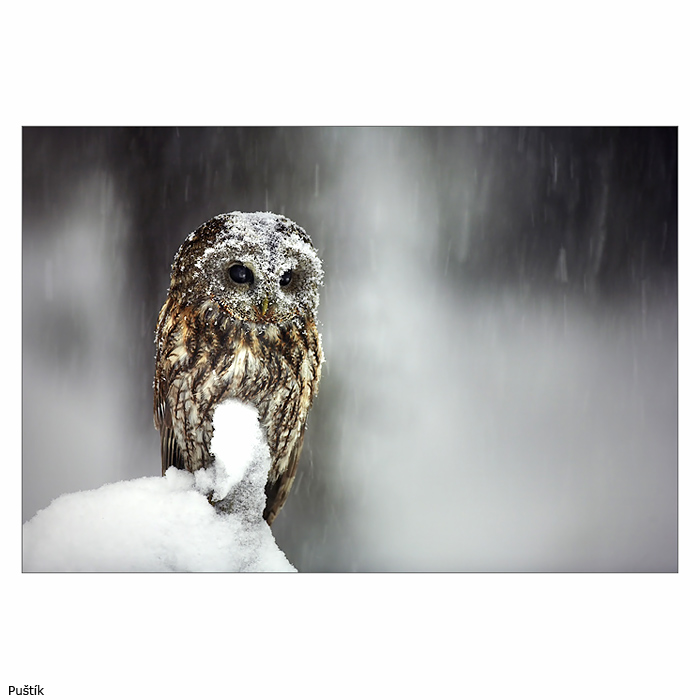
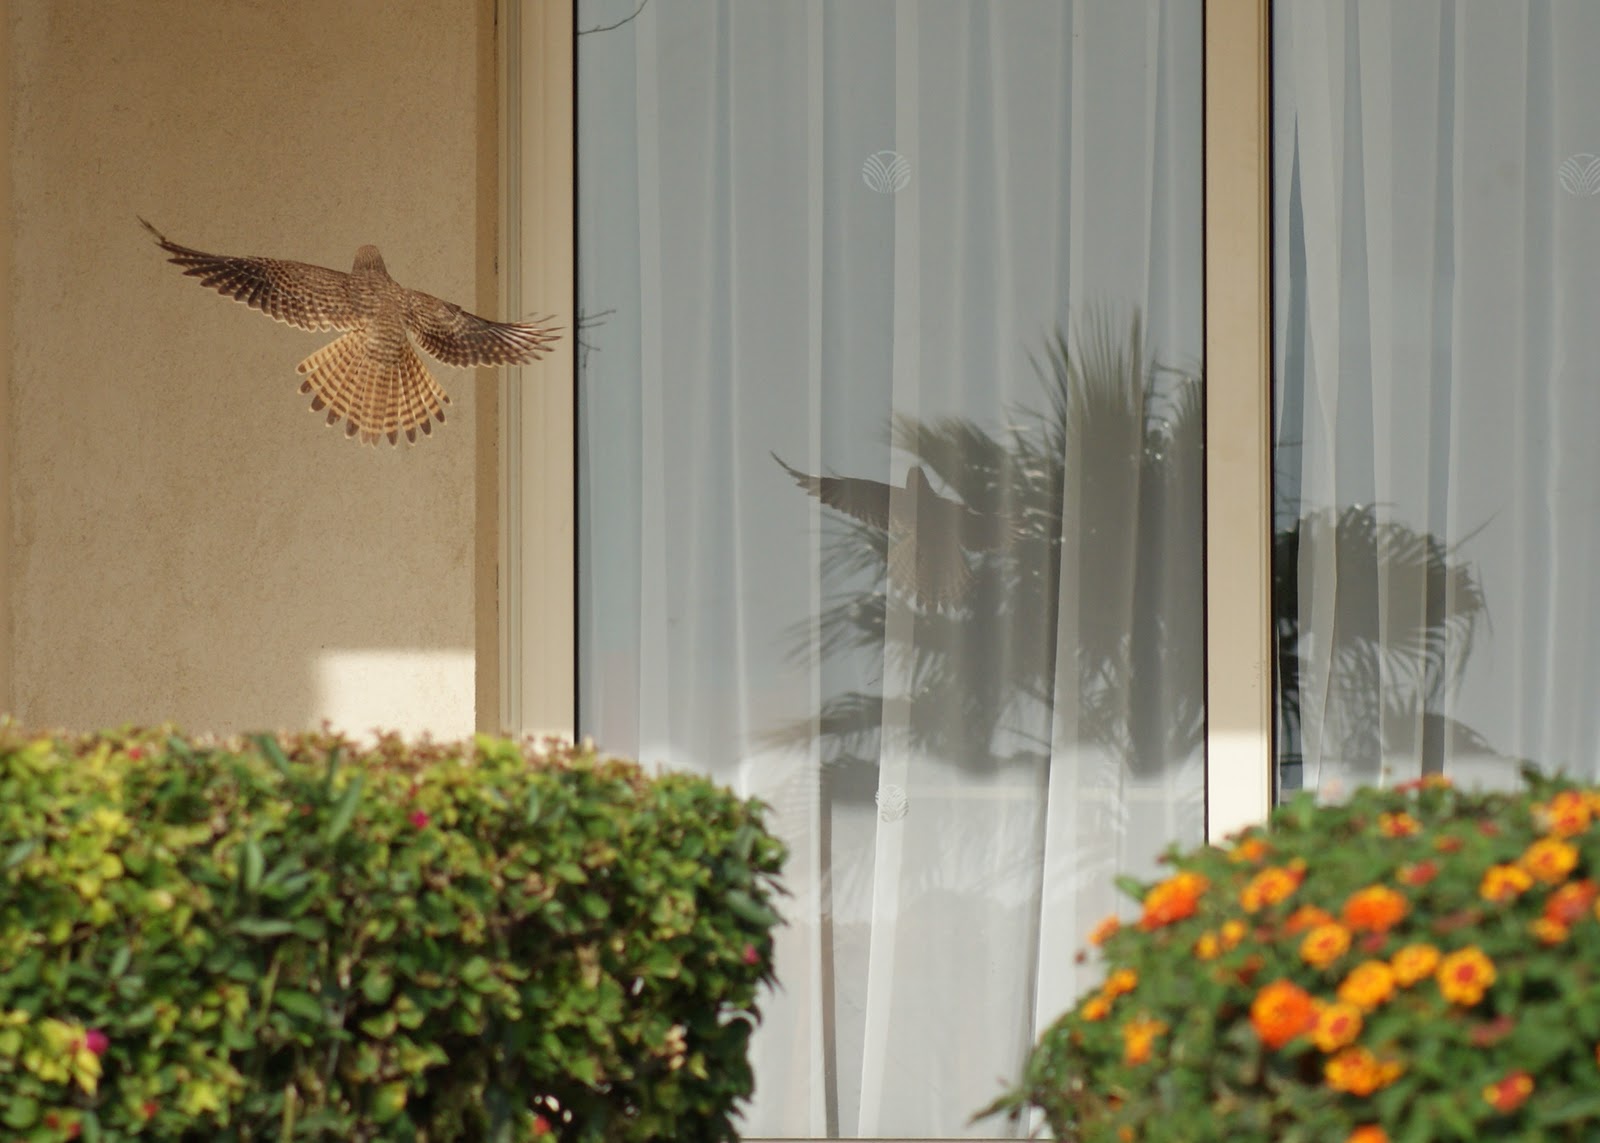
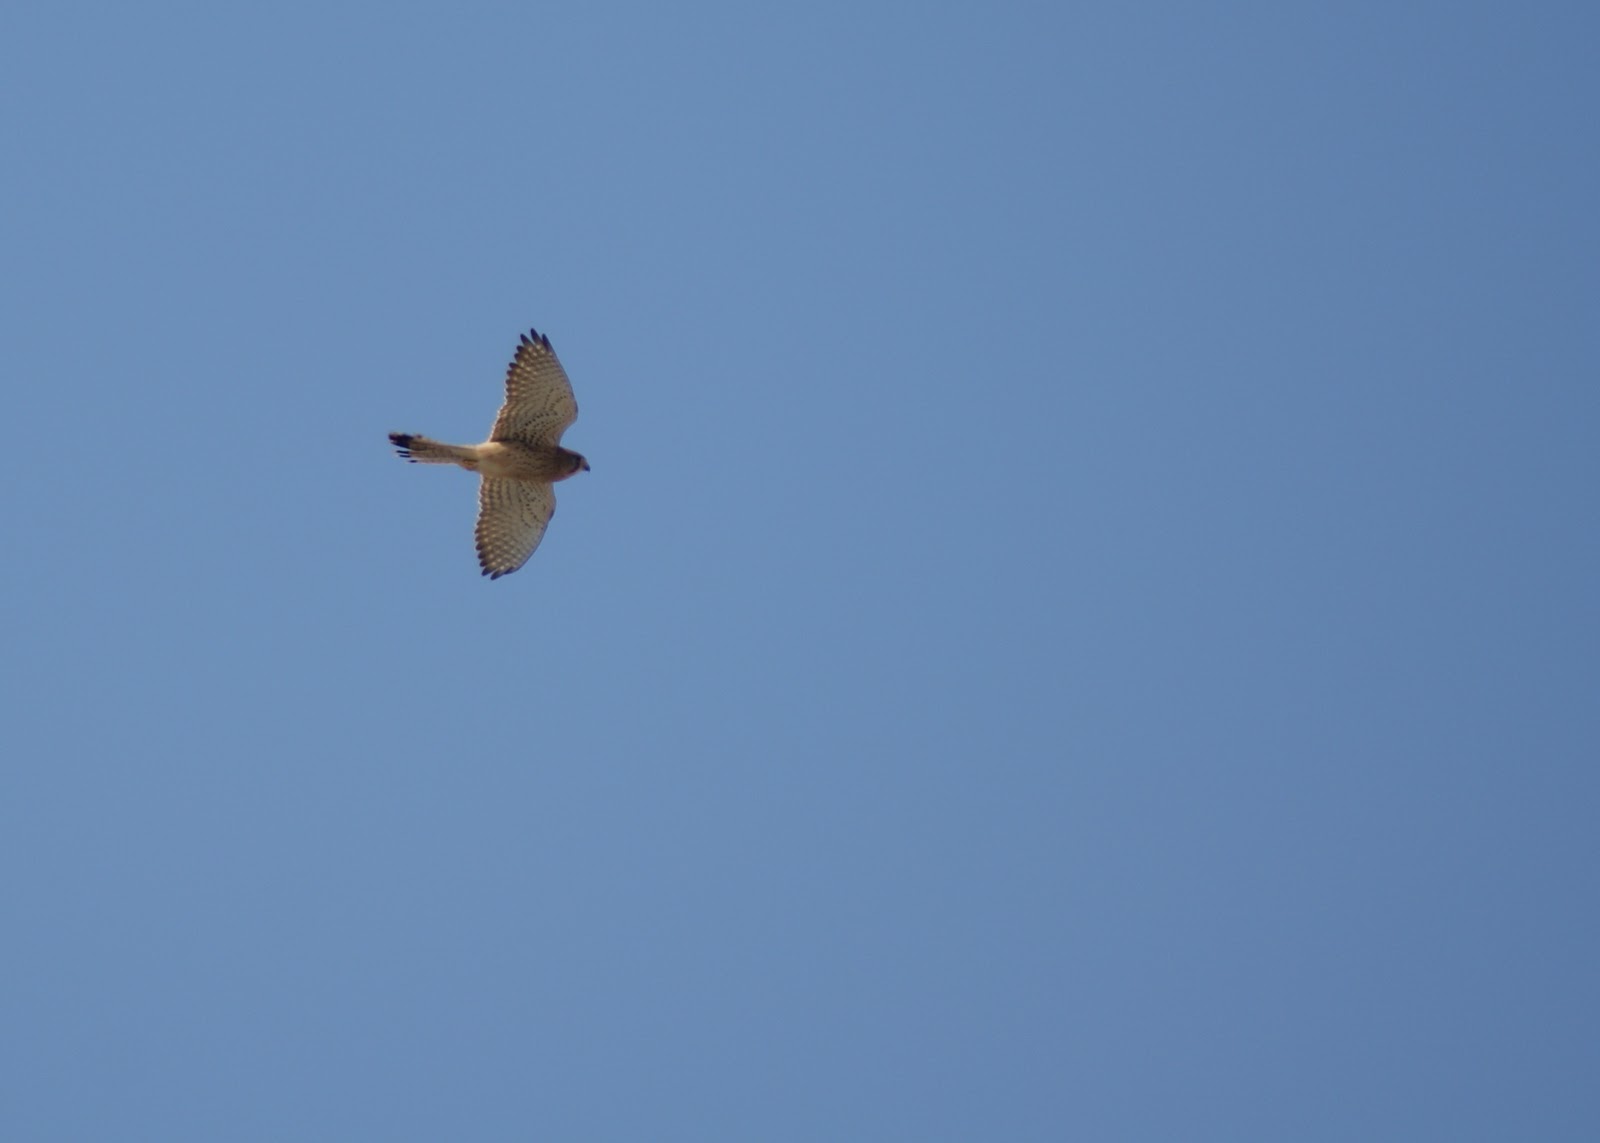
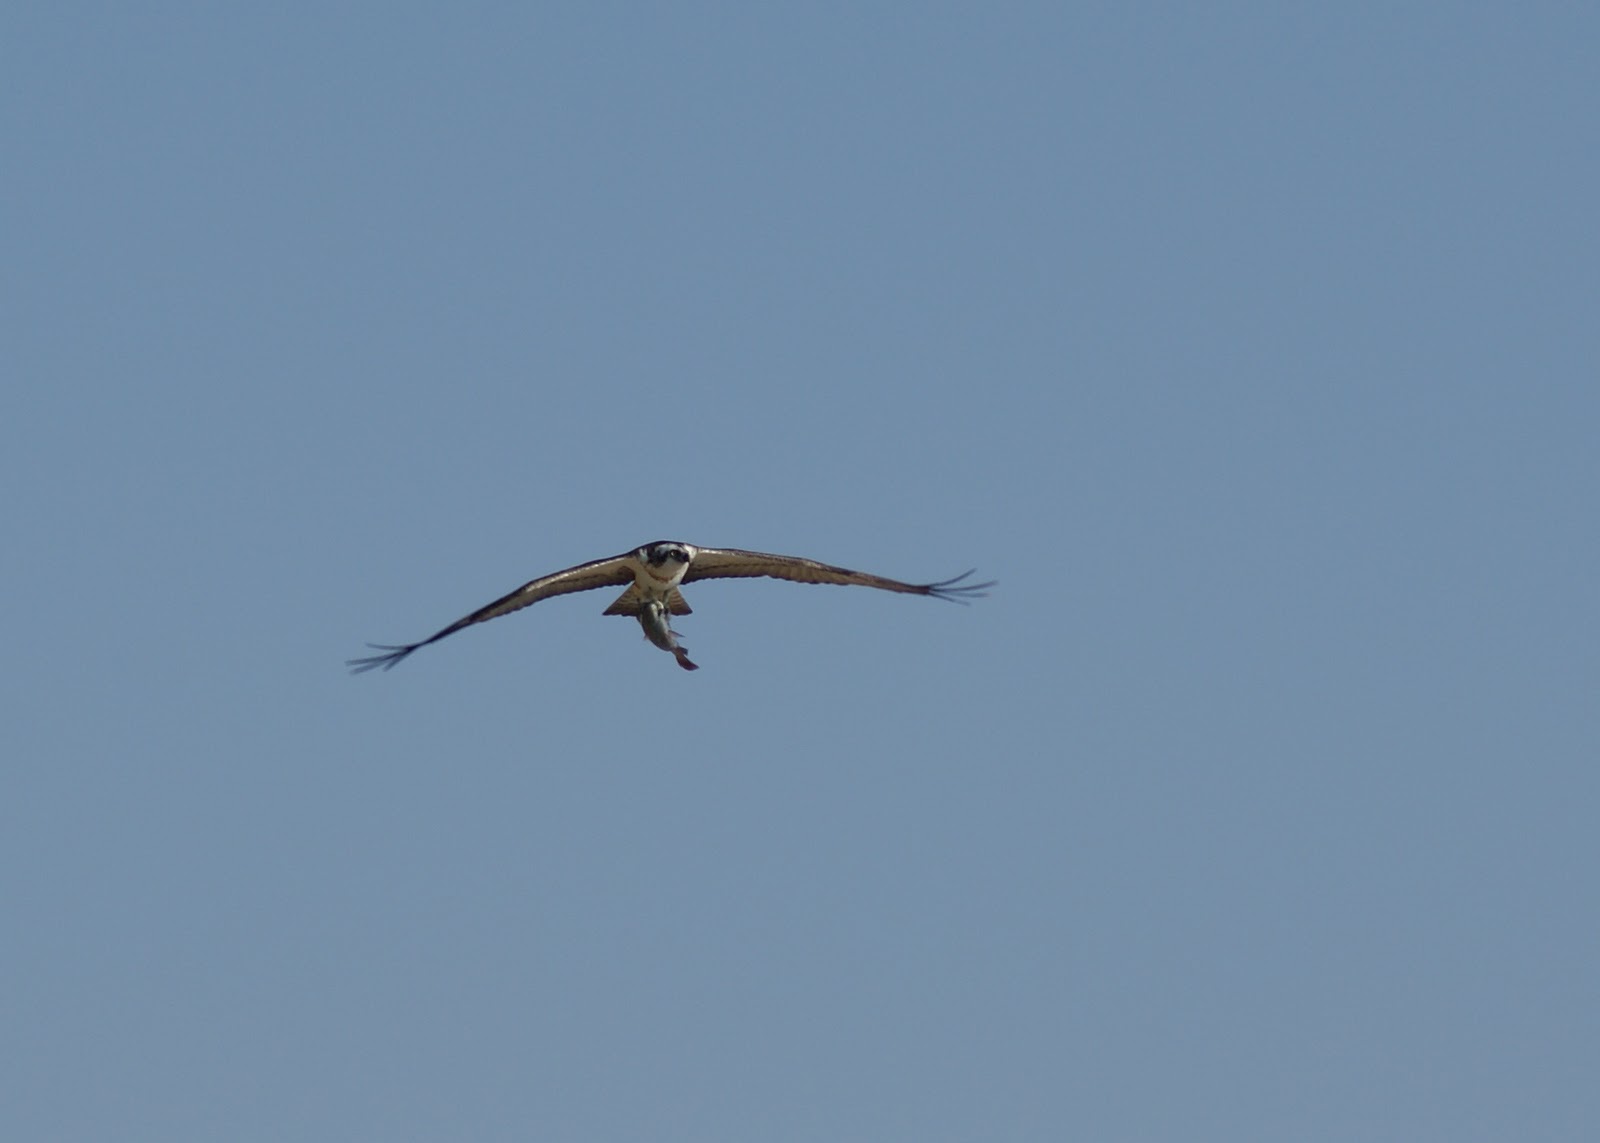
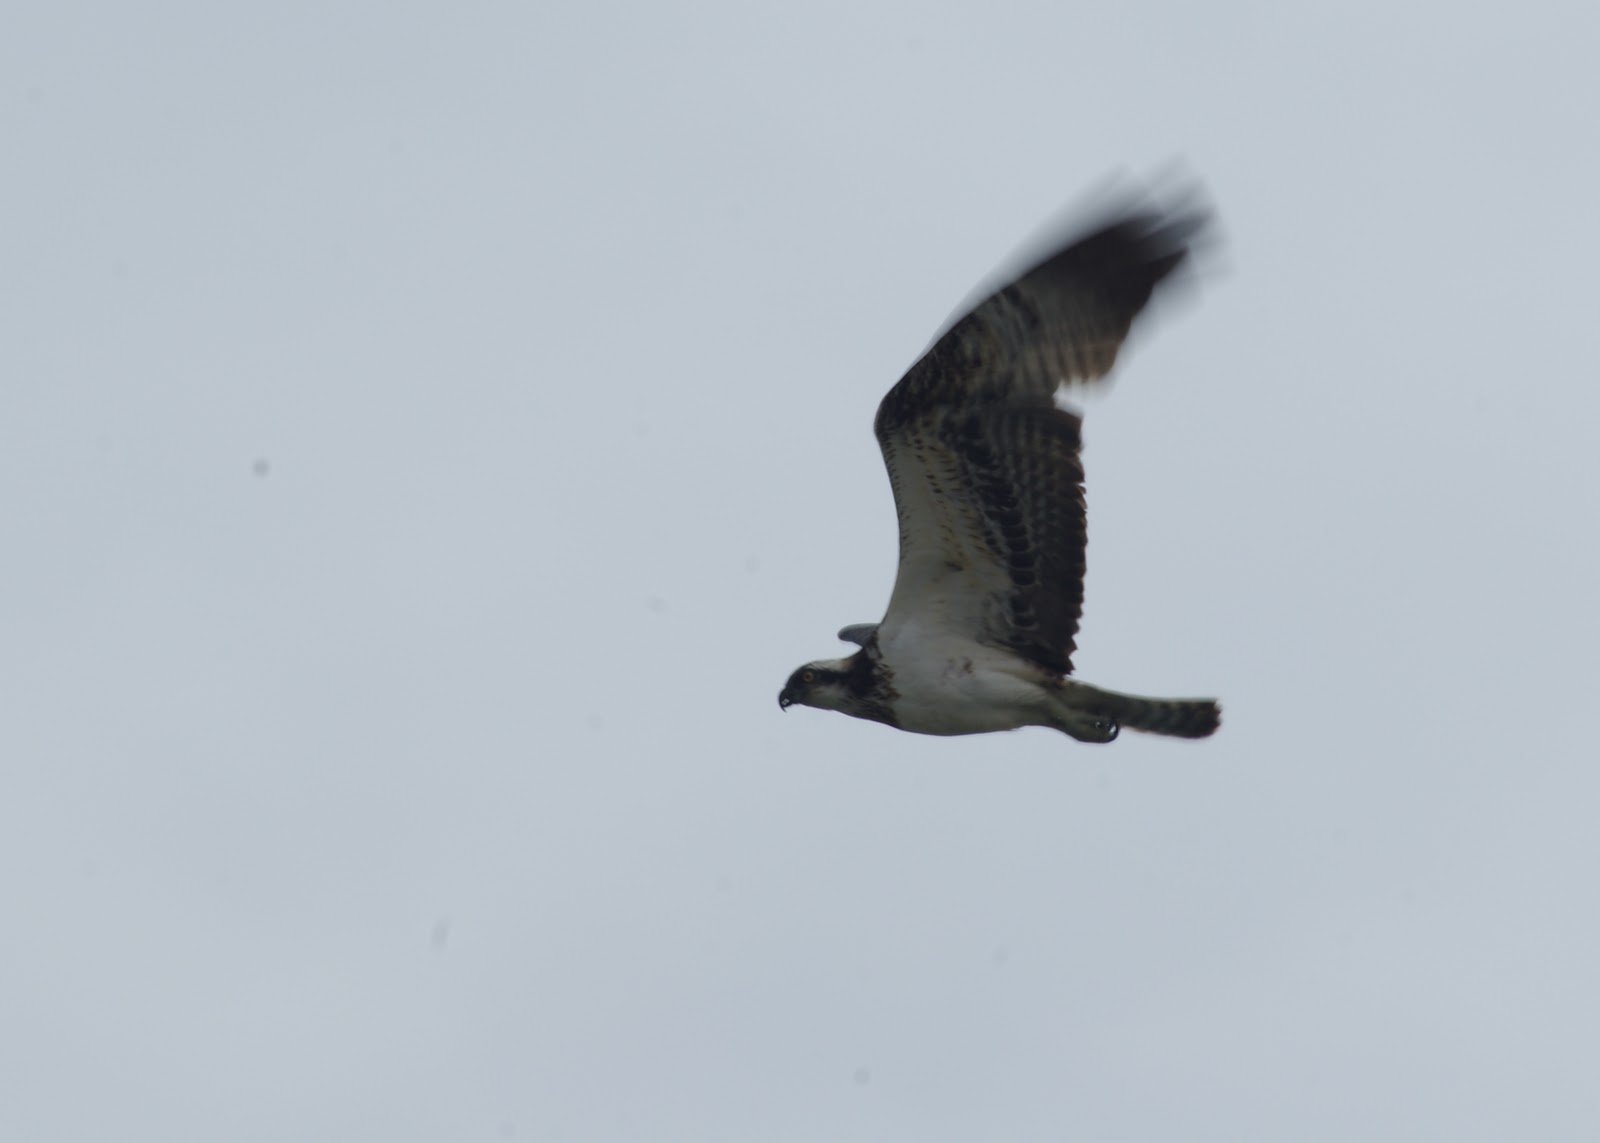
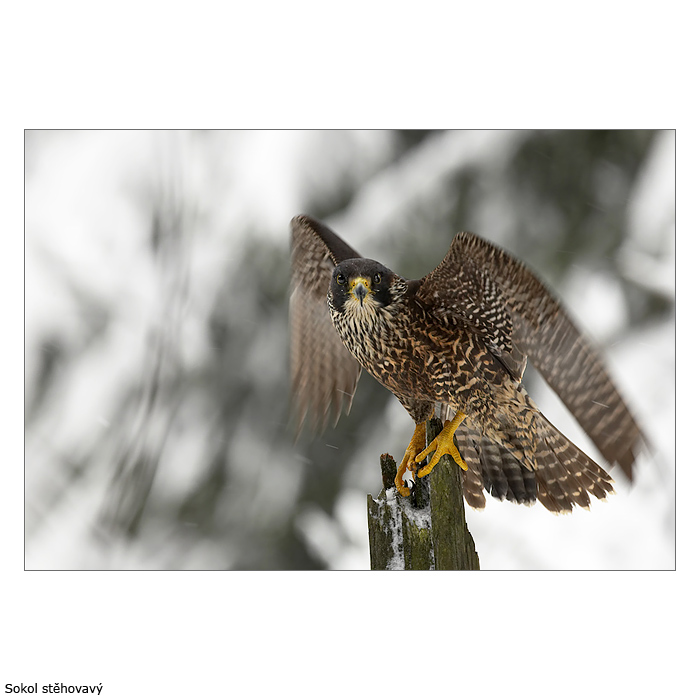
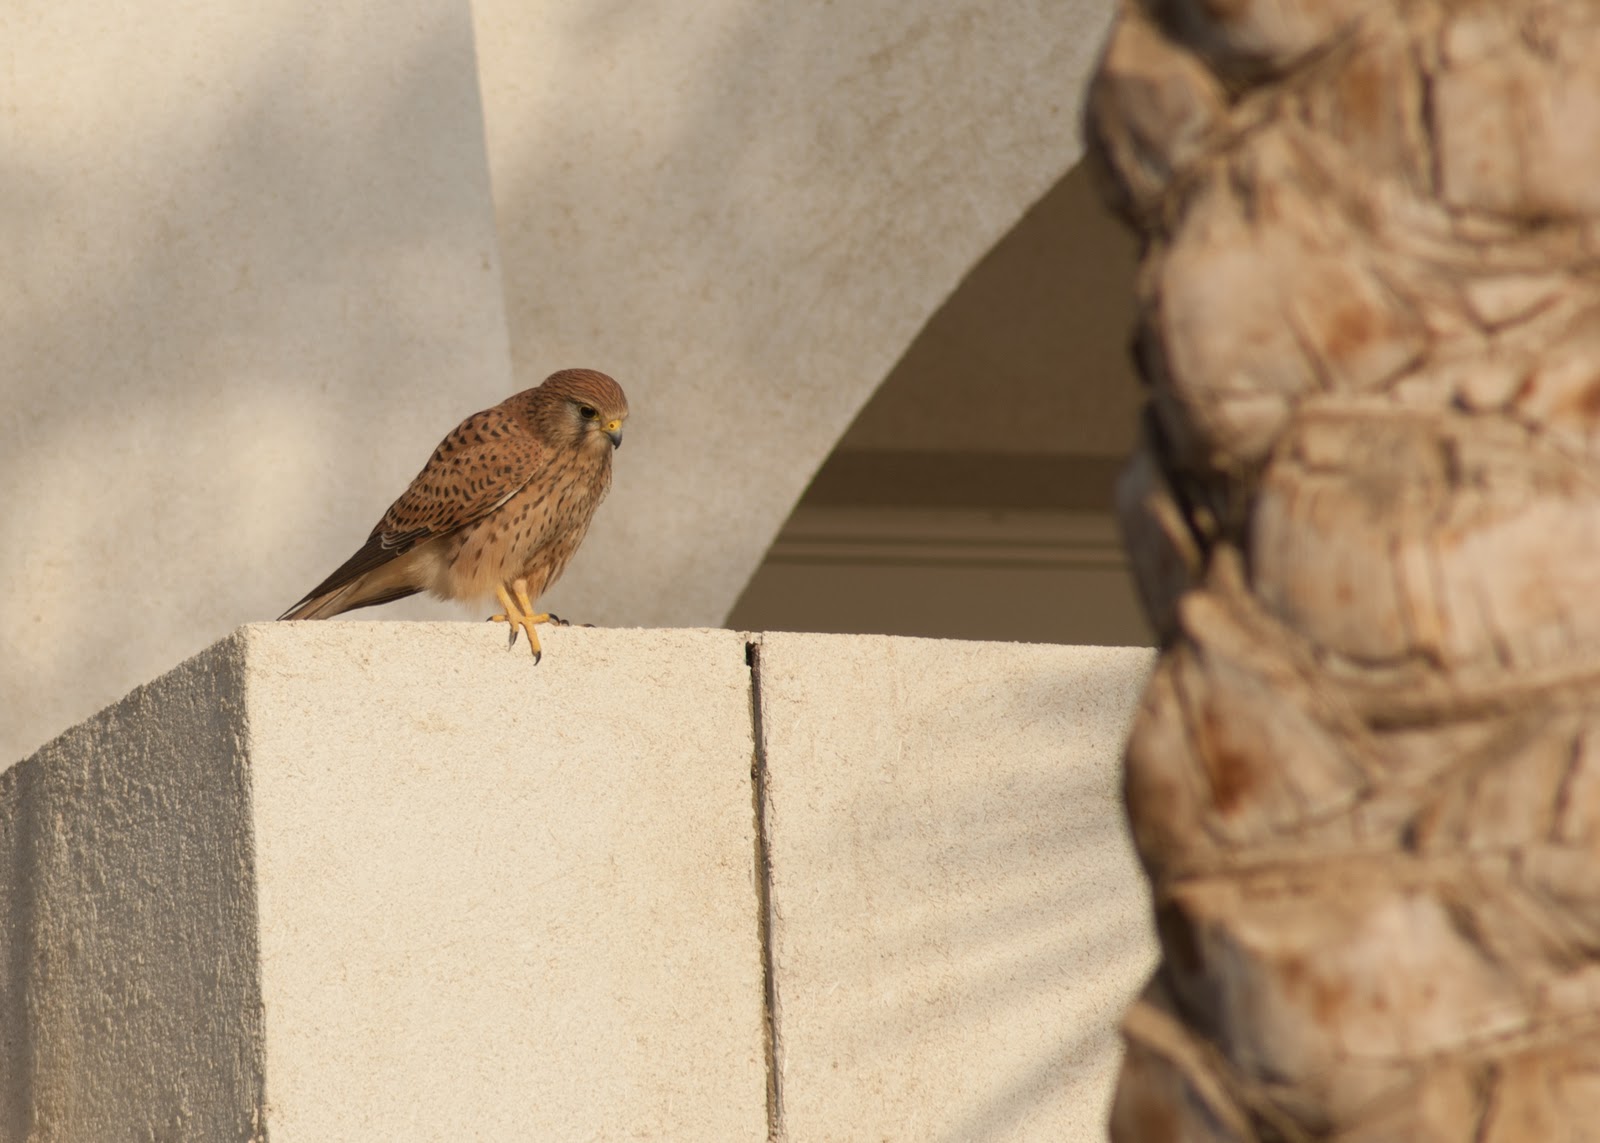
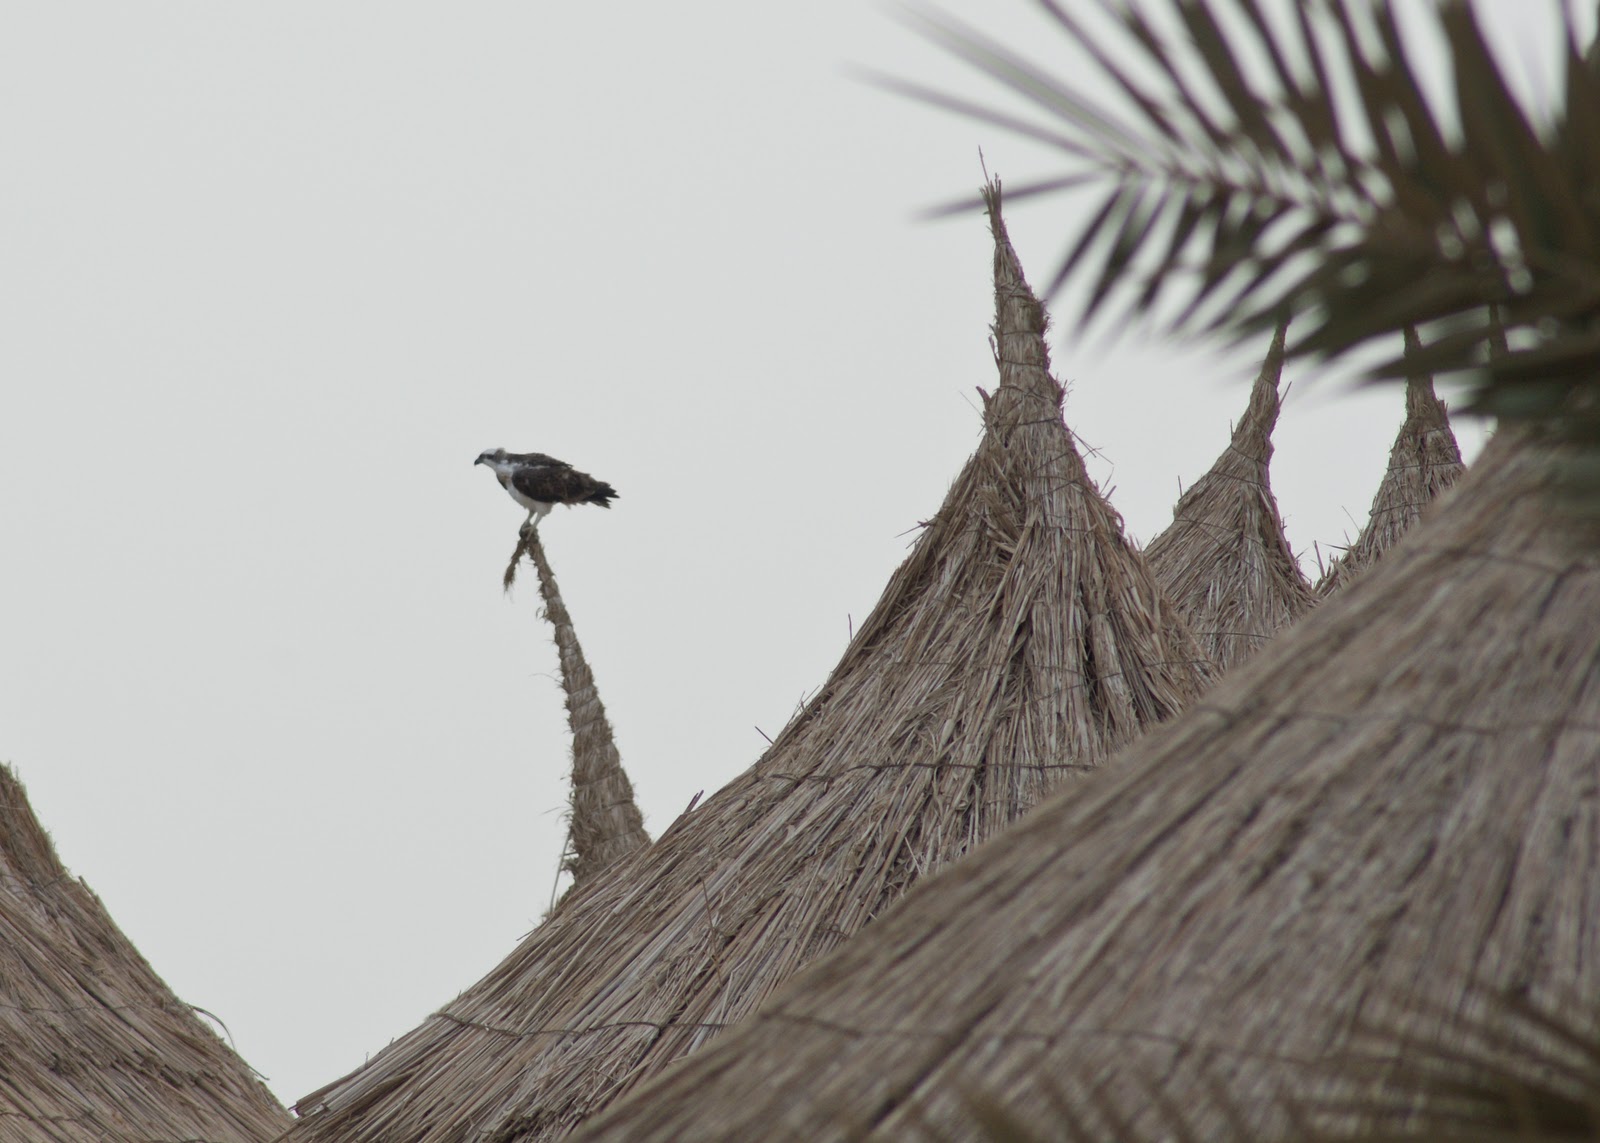
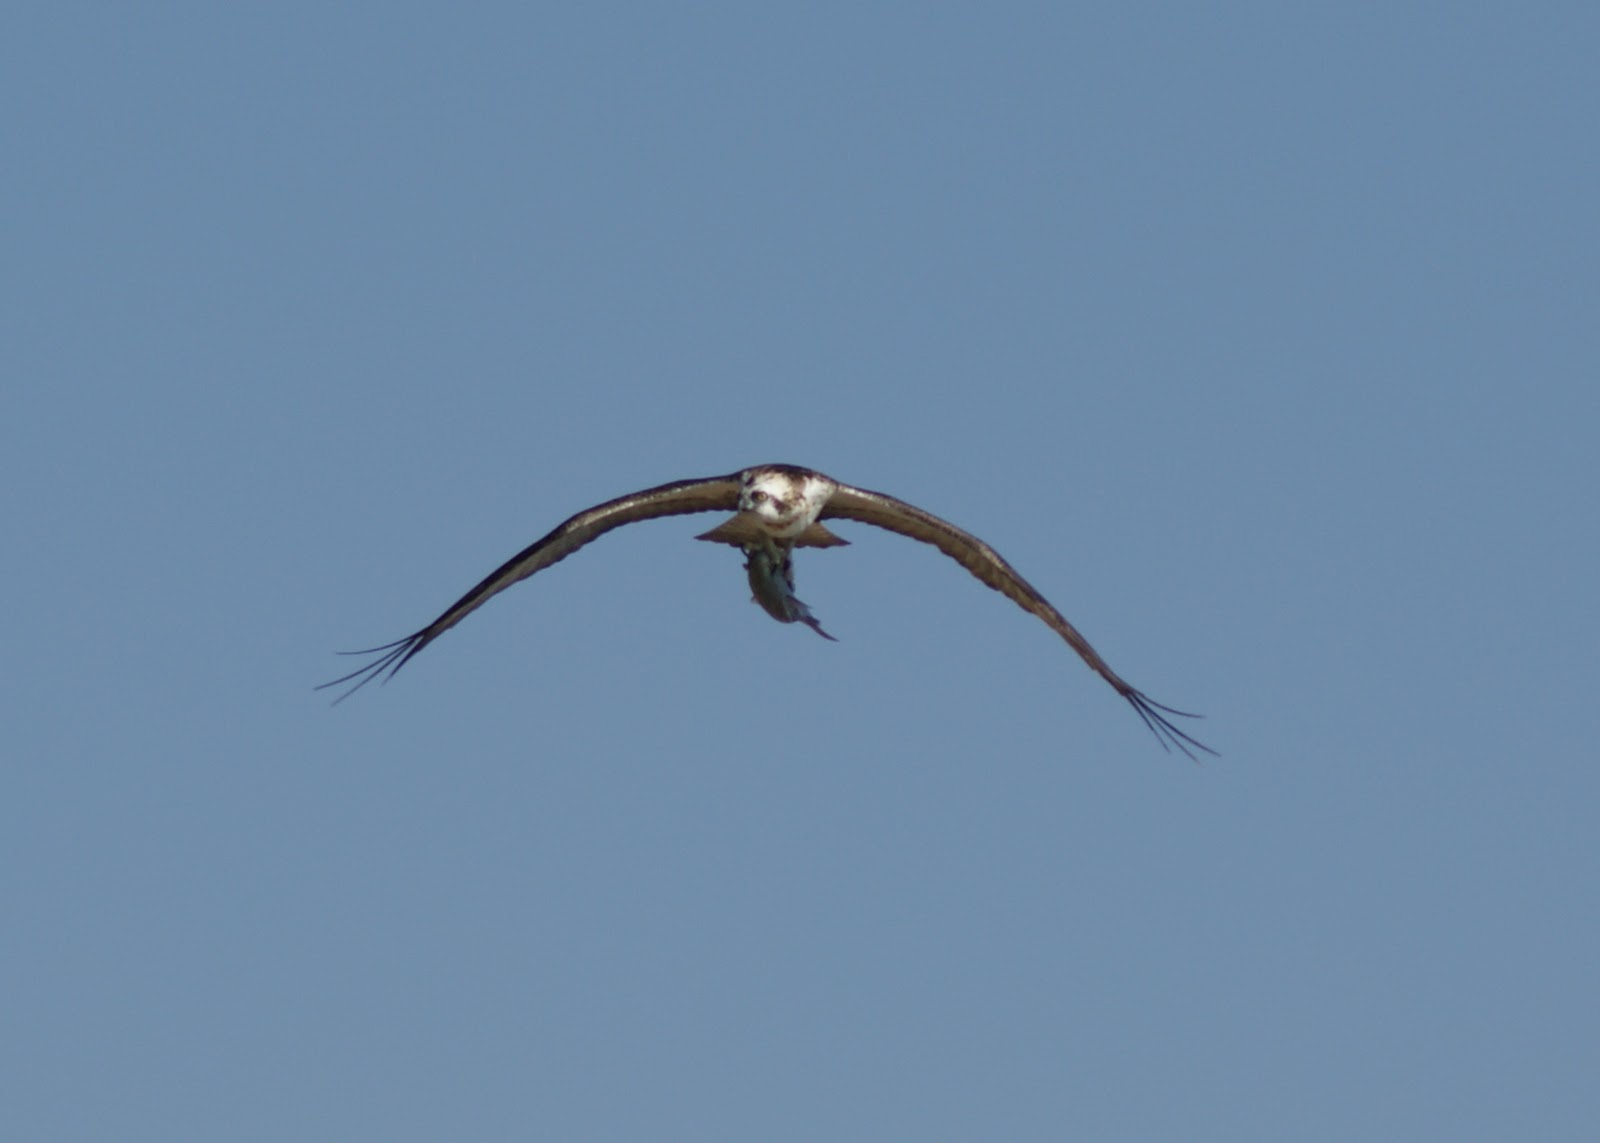
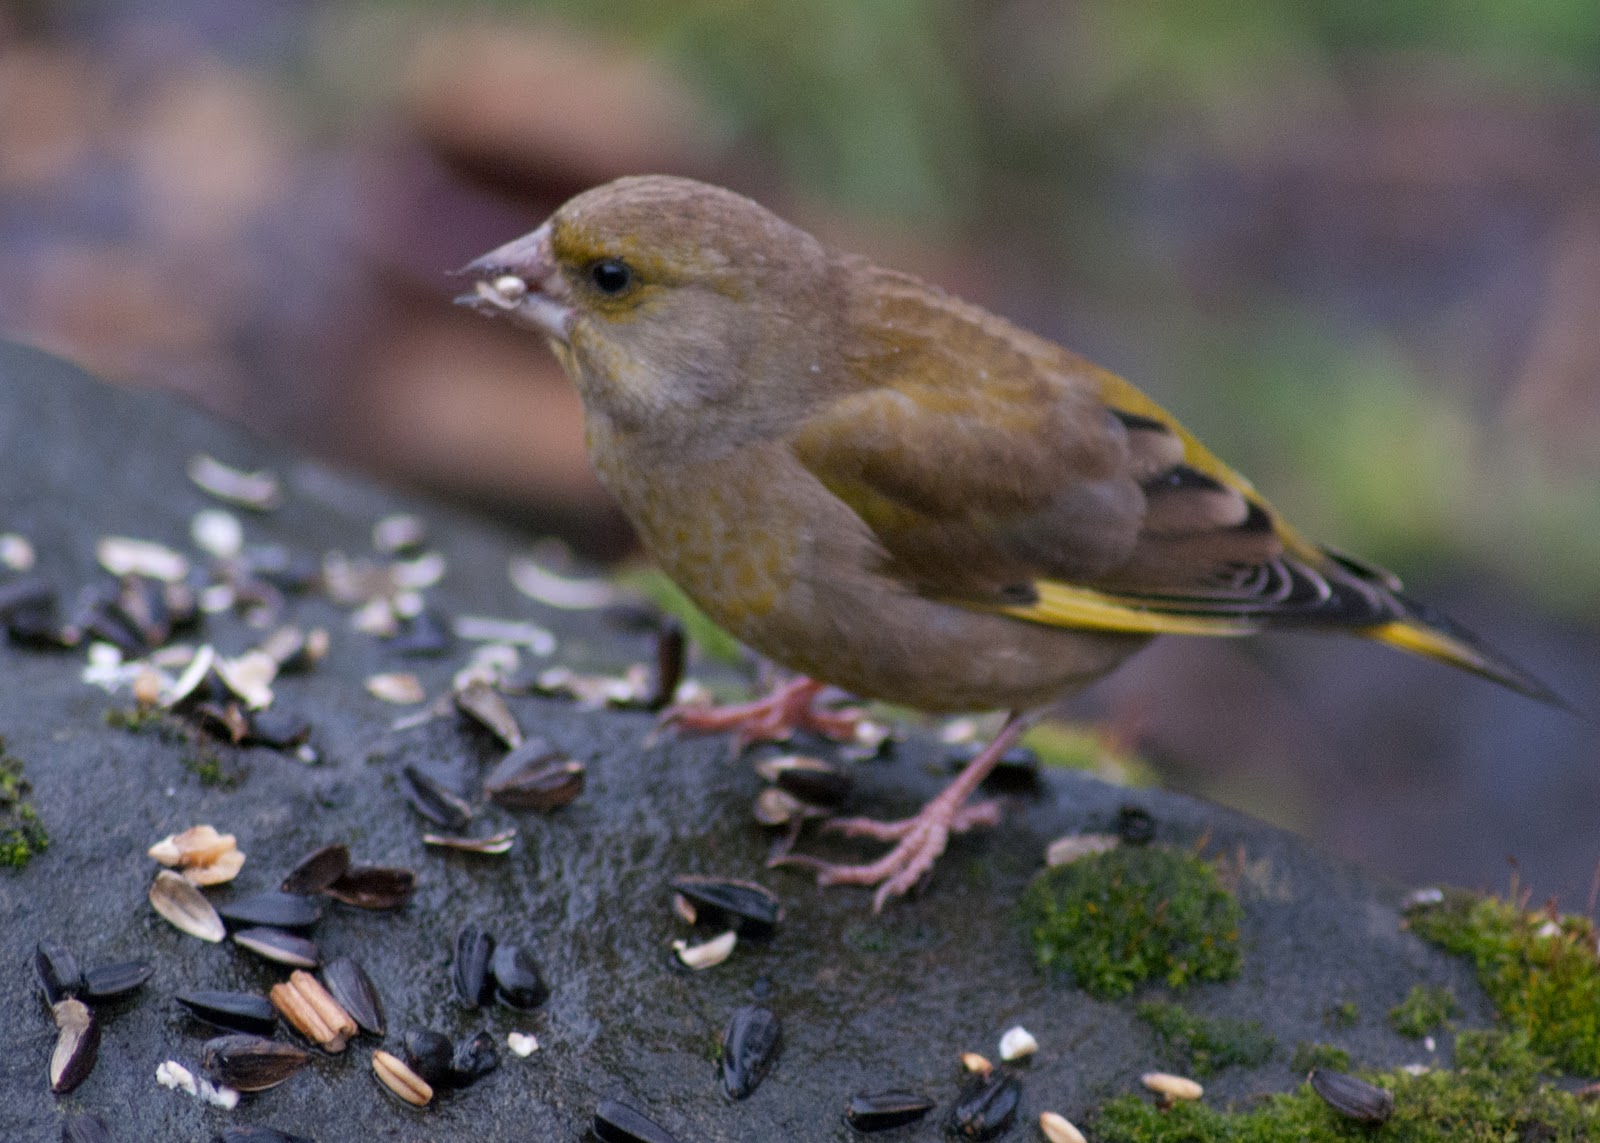 S 1/60
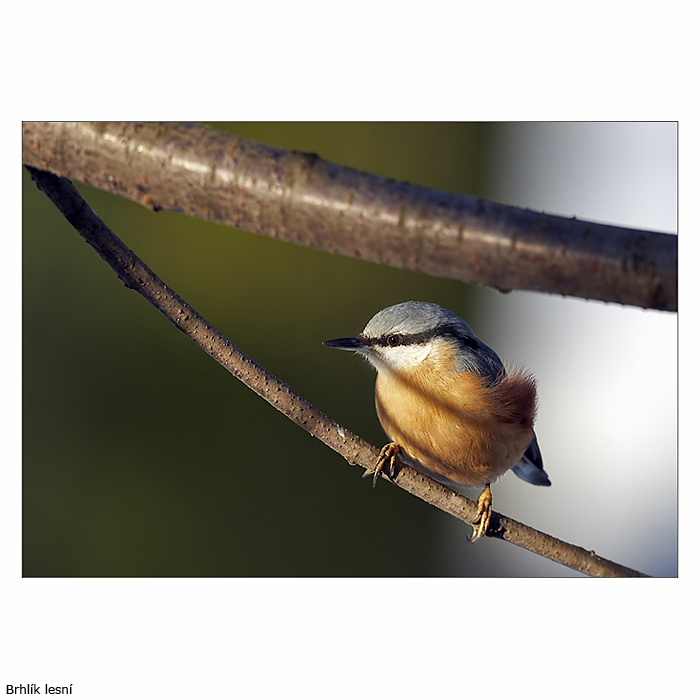
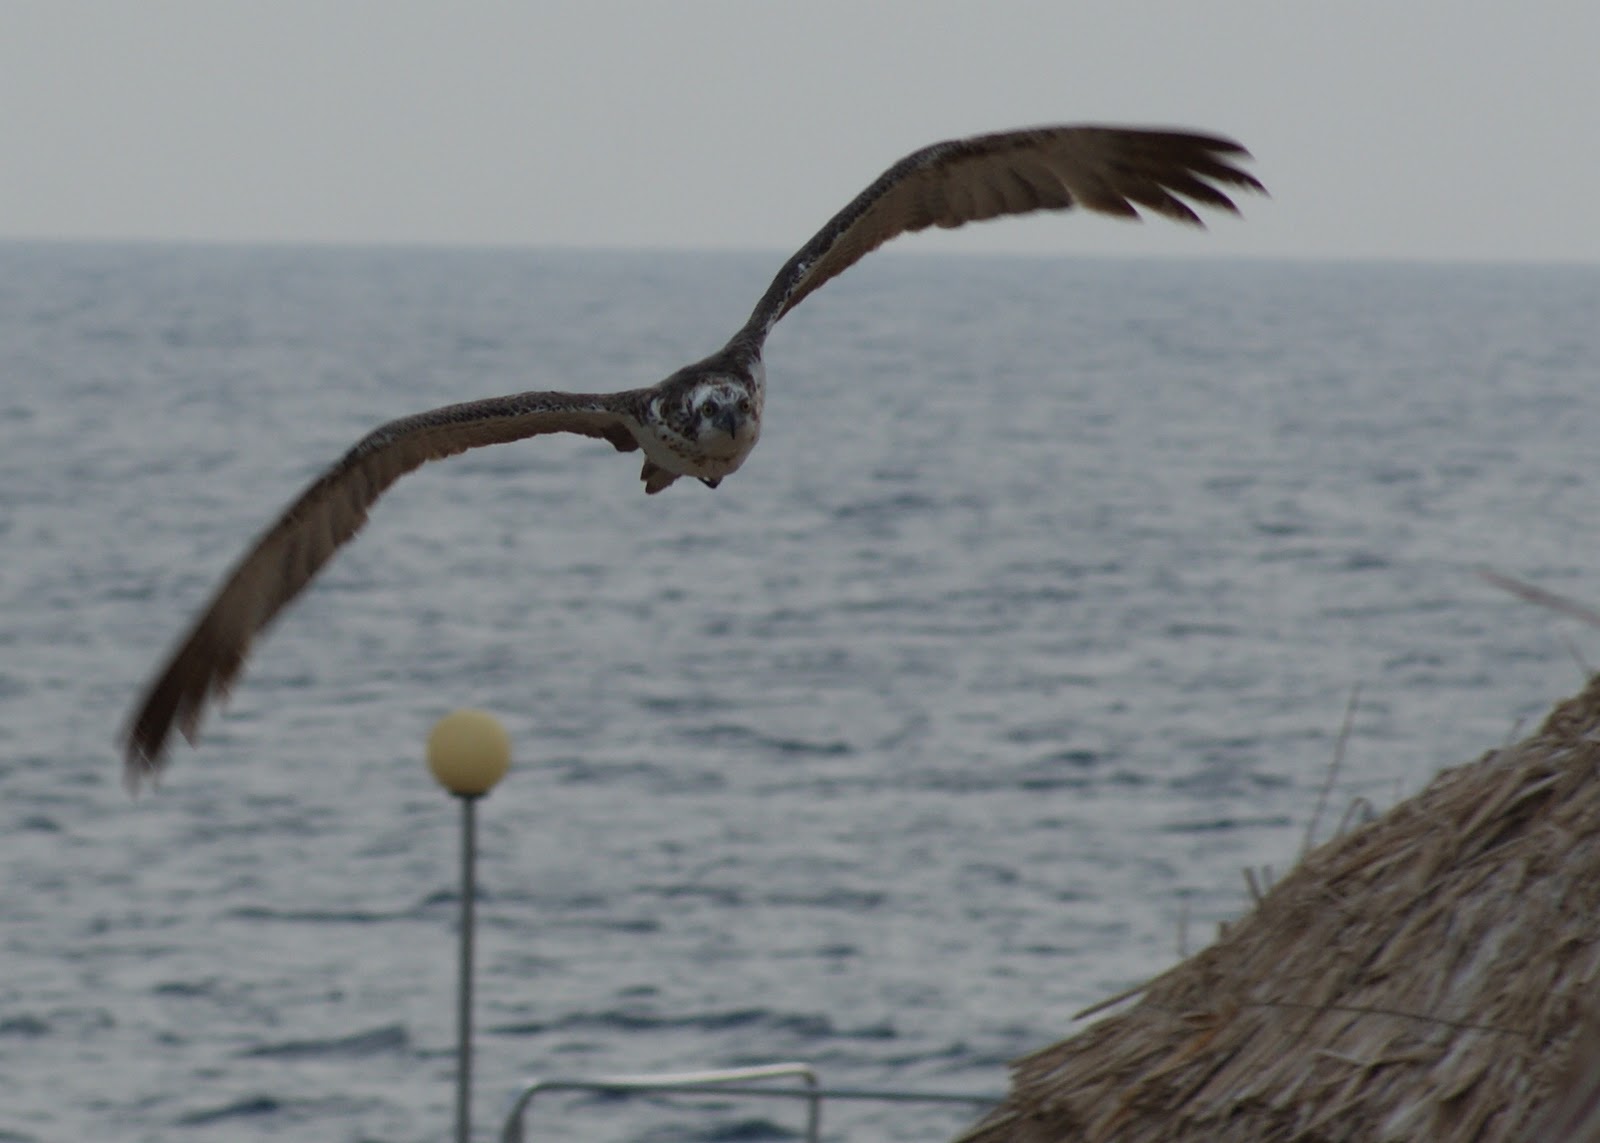
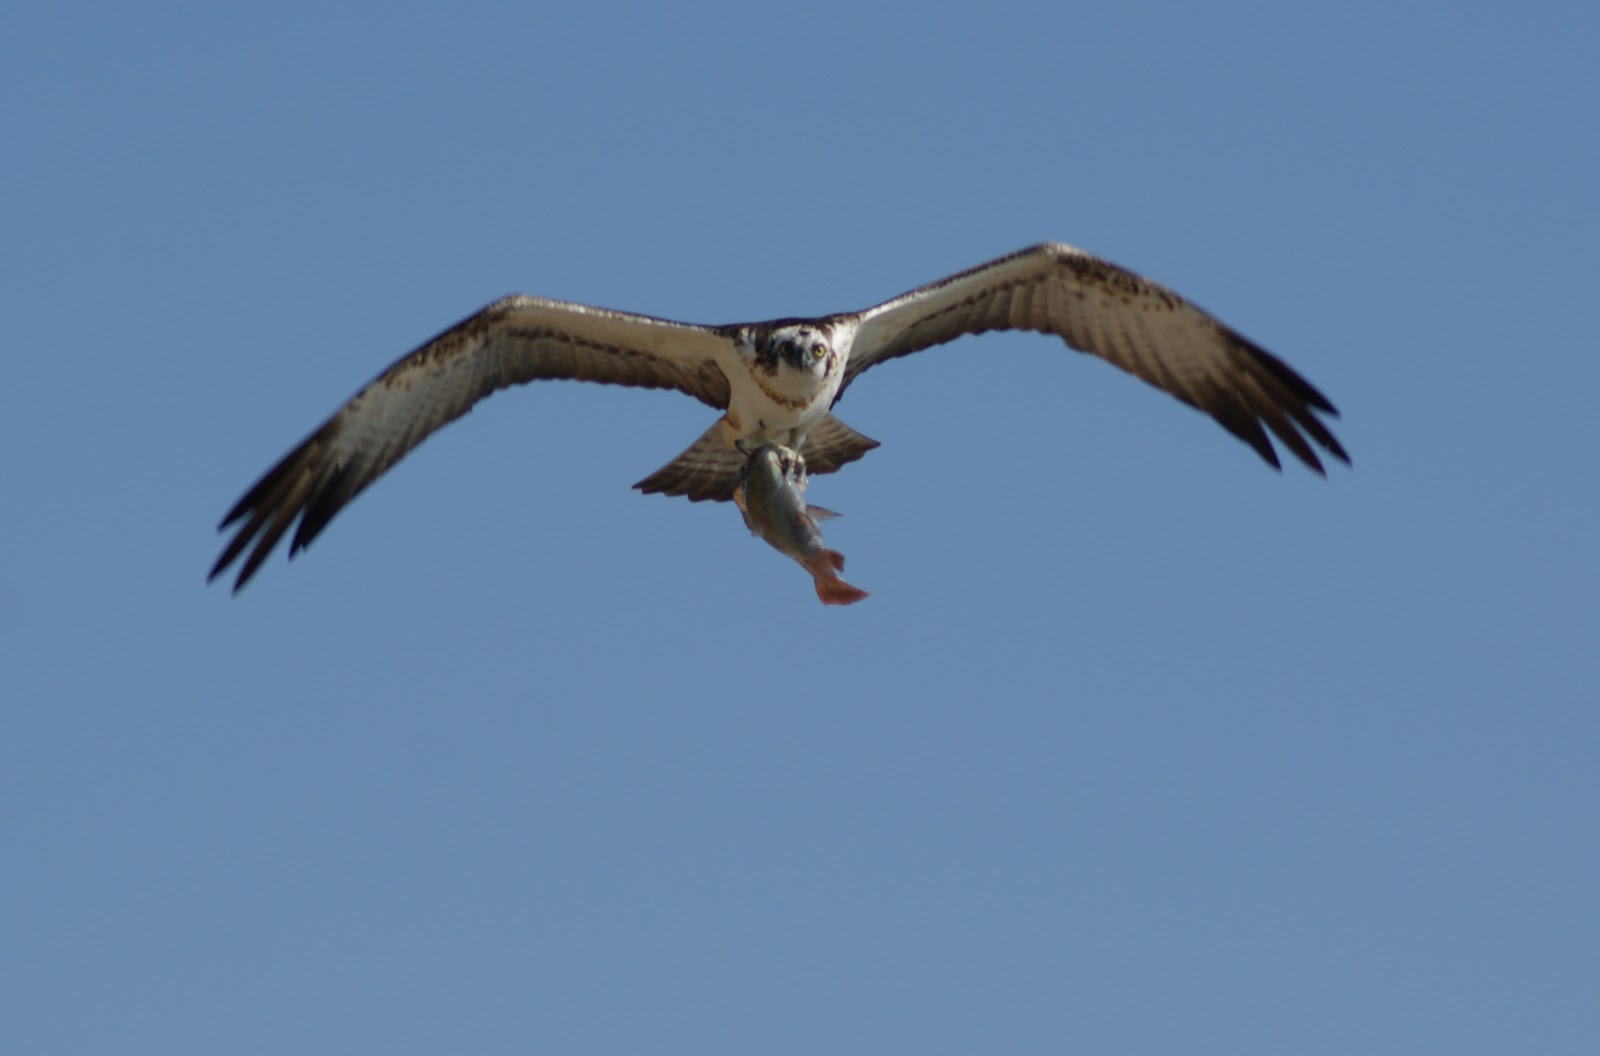
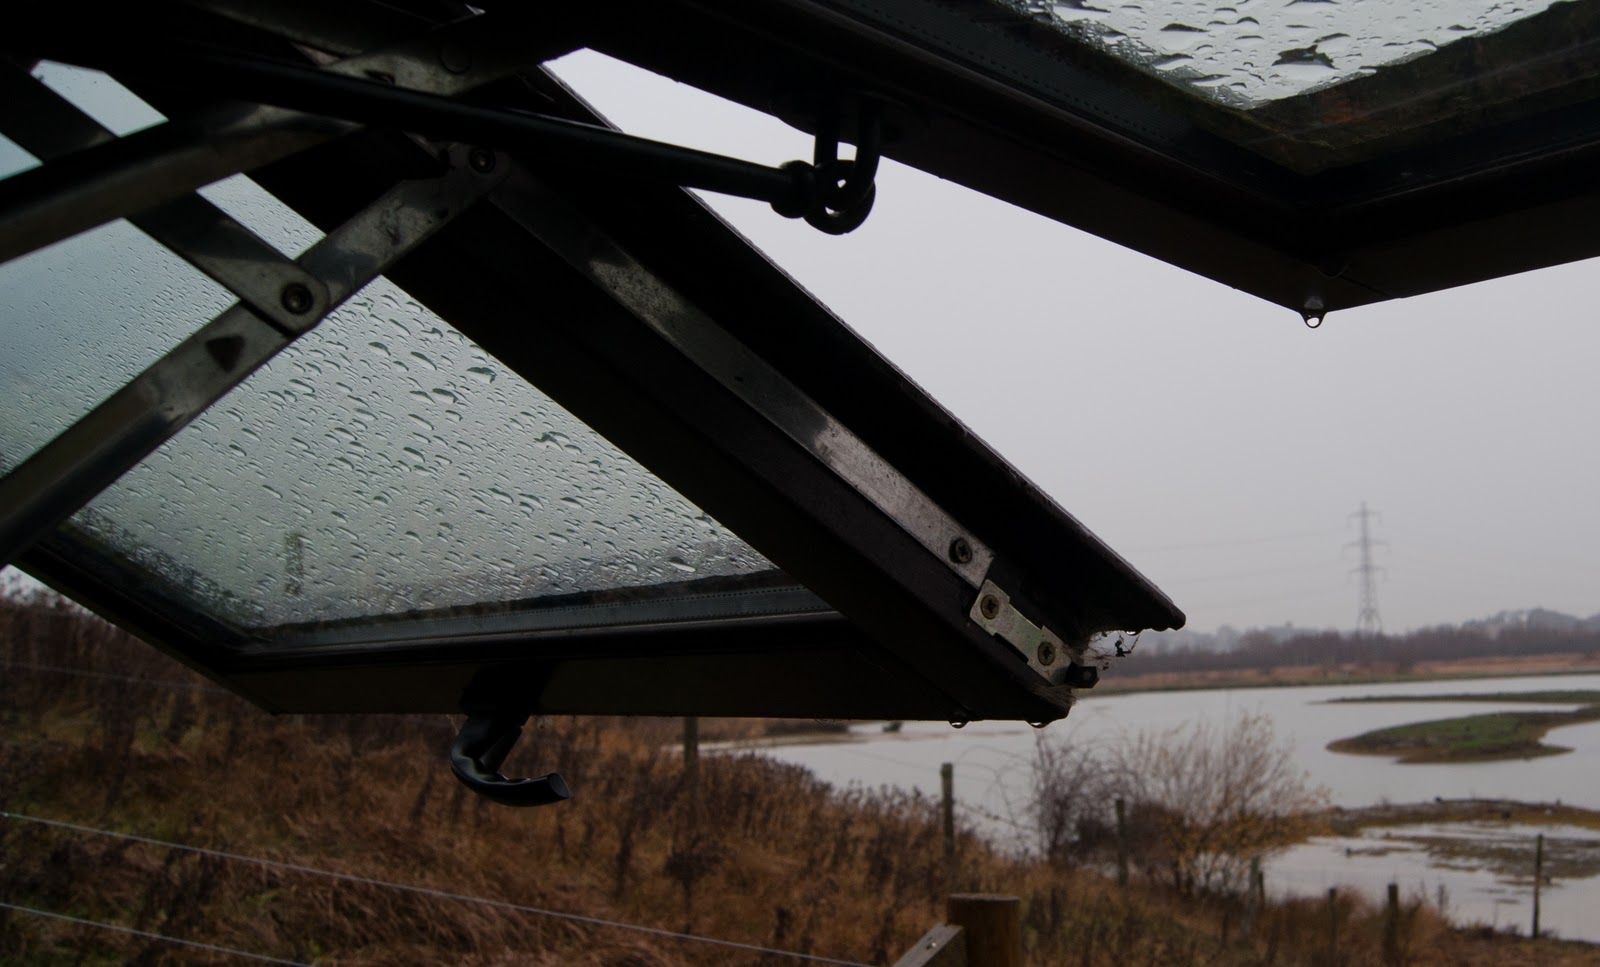
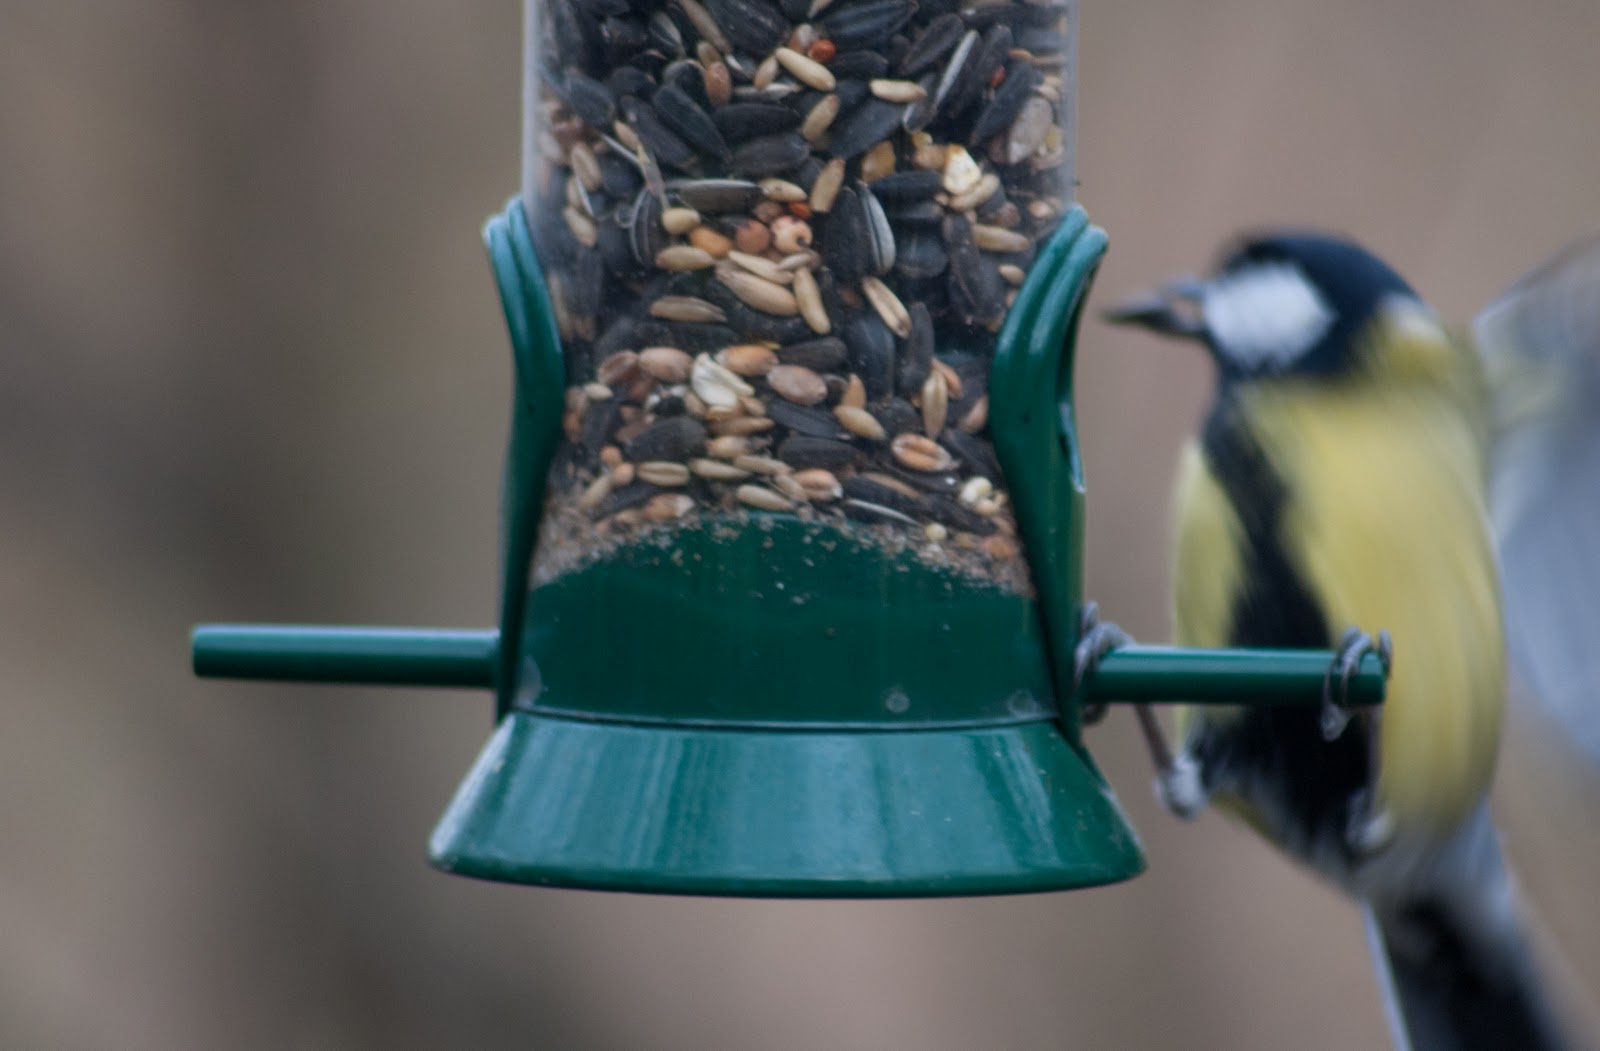
I have been back to Old Moor today and the weather has been much better than yesterday and with no rain at all I was able to get plenty more shots and being able to increase the shutter and reduce the ISO.
I am planning to go to Old Moor one last time tomorrow so hopefully any shots that I dont yet have I will get tomorrow. I have checked the weather for tomorrow and it looks set to be similar to today with the addition of some showers in the morning, the afternoon looks set to have some sunshine though.
After my last visit tomorrow I'll be able to start looking at my images and choose the final shots that will be used for my portfolio.
I'm hoping that the final images will give an overall look of Old Moor and hopefully give you a sense that you may have even been there. Although the reserve is centered around the birdlife I have tried to capture the reserve as a whole including the people that visit, the areas, and other subjects on the reserve along with some of the birds.
Here are a couple of images I have taken today along with the weather report for tomorrow:

| Forecast next 48 hours | Location for forecasts: Rotherham
| |||||||||||||||||||||||||||||||||||||||||||||||
|---|---|---|---|---|---|---|---|---|---|---|---|---|---|---|---|---|---|---|---|---|---|---|---|---|---|---|---|---|---|---|---|---|---|---|---|---|---|---|---|---|---|---|---|---|---|---|---|---|