Tuesday, 27 December 2011

Panoramic Views

Im not sure if I will use panoramic views in my final portfolio for theme 1 but after discovering photomerge in CS5 this is one of my favourite functions and is perfect for landscape photography.


I played with this a few weeks ago in my mam's back garden and quickly took the shots I needed, holding the camera oppose to using a tripod.  The final results were great to show my understanding of the function but were not great technically, so whilst at Old Moore I decided to use a tripod and a large F Stop to get a better final image.  I took approx 15 shots for each of the following images and then cropped them onced I had merged them in CS5.


The final images turned out really great capturing not only how amazing the reserve looked as the sun was setting but capturing a lot of detail from using a large F stop (F/16).


Shutter Problems!!!!!

During my first session at Old Moore nature reserve (theme 1) I realised that using a fast shutter was not as easy as I thought it would be.  This being down to the weather not being as bright as I had been told by the good old faithfull weatherman and the restriction on the natural light in the bird garden.

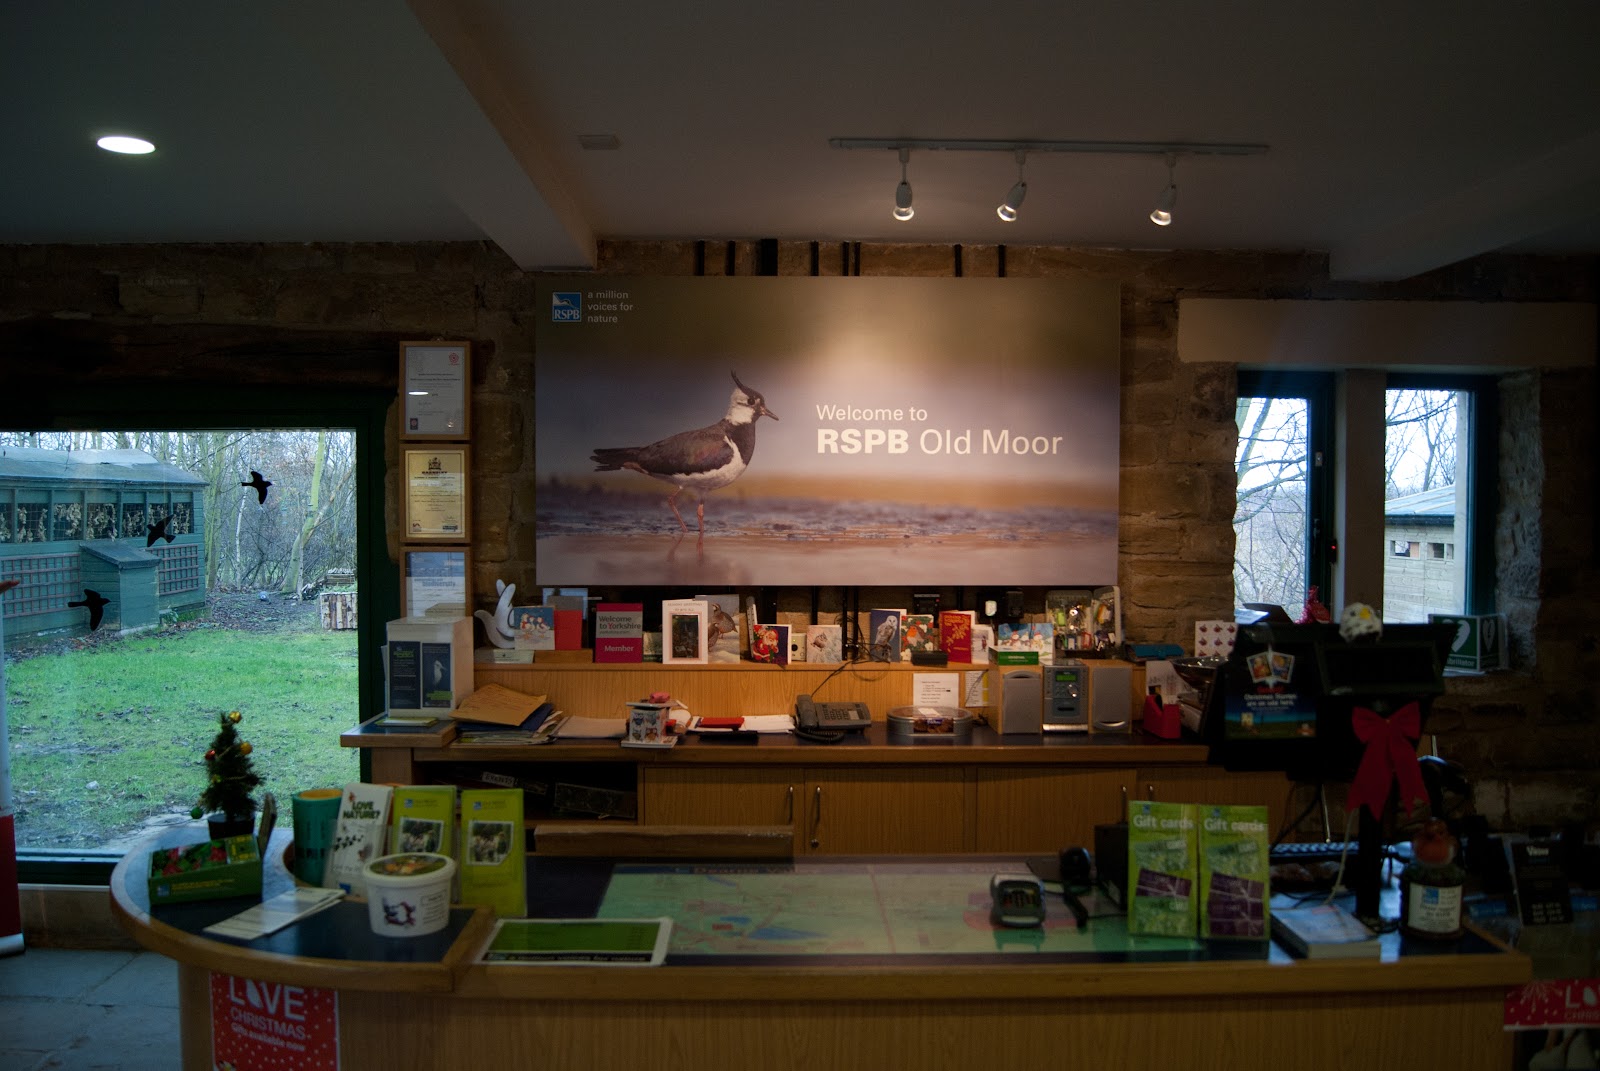
The bird hide in which I was shooting from was in the garden, this is at the back of the visitor centre which from indoors you can look out into the garden and see the hide.  Round the back of the hide is woodland where a large number of garden birds seem to spend the day, coming into the garden and feeding on the feeders.  As nice as this all is it certainly restricts the amount of light coming into the garden and as a result I found it quite a challenge to freeze the birds and get sharp, clear images. The images below are off the garden and hopefully from these you can see why the light is restricted.

View from inside the visitor centre looking out into the Bird Garden

View from  Garden Hide

View from Garden Hide (opposite side)

I had to use an ISO of 400 with the shutter set at 1/100 sec, I have added a few images below which show the result of this.  I am not to happy with the results as they are not as sharp as I would have liked and if you start to zom in on the images you can see that the movemeent has not been frozen with some blur appearing.  There is also a lot of noise in the images to from using a higher ISO.


You can see from the above images (once opened up) that they are not great, I did set the Shutter to a much faster setting, for example 1/400, 1/500 but these were simply to short with the images being very dark. 

My next visit to Old Moore will be later this week and the challenge here is to solve this problem and hopefully return home with much better images.  One thing I can do that doesnt involve the camera settings is to plan my day better at the reserve.  Instead of shooting from the bird garden early morning I will wait until the after noon when the natural light is better.  Hopefully taking advantage of this light I will be able to reduce the ISO back to approx 200 and increase the shutter to approx 1/500 in order to freeze the birds and get much sharper images.

There are 4-5 hides set out on the reserve that are out in the open and overlooking large areas of open water and the light really did make a difference.  It also left a brilliant glow on the reserve as the sun was setting which was amazing. 

I didnt get chance to go round all the hides so hopefully on my next visit I'll be more prepared, getting there earlier and being able to get round the whole reserve. 

The images below are some of the better ones which I wil consider using, as you can see the light is much better and the images are sharper.


Aperture Re-visted

I decided I would re-visit aperture, when we first looked at this Dave explained why we use Aperture, the effects this has and how you can use this to achieve specific result.  For example when shooting landscapes you would use a small Aperture (Large F Stop) this would give you a wide depth of field with less "out of focus" capturing much more detail across the Landscape. 

On the other hand if you didn't want to capture the detail and had a focal point you wanted to enhance you would use a large Aperture (Small F Stop) which would then give you a shallow depth of field and more "out of focus" area in the image.


When looking at this the first time round I was getting very confused with how you talk about Aperture, i.e. if you are talking about a small hole using a large F stop do you call this a Large Aperture or Small?  I decided for me I find it easier to refer to Aperture by using the term F stops.


Whilst working on the colours theme a few weeks back I decided that would be a good time to play with F stops as I was playing around with pencil crayons and though they would be ideal to show the effects of the F Stops being able to show only a small area in focus and then the whole area in focus using a large F Stop. I have added two images below which I think show the effects brilliantly.


F/ 5.6

F/29

As you can see there is much more detail in focus on the second image where a much larger F Stop has been used and vise versa

As I will be shooting on a nature reserve for theme 1, Aperture will be considered quite a lot as I will be using large F Stops for the landscape shots and then using smaller F Stops (with a fast shutter) when capturing the birds on the reserve.

I found with Aperture the more you read about it, experiment with it and see visible difference's in the images the more it all fits into place.  I found this below when researching Aperture, its just one of the many results listed in google that will explain Aperture and help you to understand it.


1) What is Aperture?
Simply put, aperture is a hole within a lens, through which light travels into the camera body. It is easier to understand the concept if you just think about our eyes. Every camera that we know of today is designed like human eyes. The cornea in our eyes is like the front element of a lens – it gathers all external light, then bends it and passes it to the iris. Depending on the amount of light, the iris can either expand or shrink, controlling the size of the pupil, which is a hole that lets the light pass further into the eye. The pupil is essentially what we refer to as aperture in photography. The amount of light that enters the retina (which works just like the camera sensor), is limited to the size of the pupil – the larger the pupil, the more light enters the retina.
So, the easiest way to remember aperture, is by associating it with your pupil. Large pupil size equals large aperture, while small pupil size equals small aperture.

2) Size of Aperture – Large vs Small Aperture

The iris of the lens that controls the size (diameter) of the aperture is called “diaphragm” in optics. The sole purpose of the diaphragm is to block or stop all light, with the exception of the light that goes through the aperture. In photography, aperture is expressed in f-numbers (for example f/5.6). These f-numbers that are known as “f-stops” are a way of describing the size of the aperture, or how open or closed the aperture is. A smaller f-stop means a larger aperture, while a larger f-stop means a smaller aperture. Most people find this awkward, since we are used to having larger numbers represent larger values, but not in this case. For example, f/1.4 is larger than f/2.0 and much larger than f/8.0.
Take a look at this chart (image courtesy of Wikipedia):
F-numbers
The size of the circle represents the size of the lens aperture – the larger the f-number, the smaller the aperture.

3) What is Depth of Field?

One important thing to remember here, the size of the aperture has a direct impact on the depth of field, which is the area of the image that appears sharp. A large f-number such as f/32, (which means a smaller aperture) will bring all foreground and background objects in focus, while a small f-number such as f/1.4 will isolate the foreground from the background by making the foreground objects sharp and the background blurry.

Thursday, 15 December 2011

Change to Theme 1

I had decided a few weeks back that my first theme would be Nature and the idea behind this was that I was going to visit several parts of the peak district and capture some dramatic landscapes and produce a portfolio from this.


I didn't think at the time that this would be as big a challenge as it is, in respect of the time I would need to allocate to this each weekend whilst trying to fit in other responsibilities I had as well as working full time.  I did manage to visit a couple of places and take some shots but not enough to produce the kind of portfolio I had pictured in my mind.


So, with this being slightly over ambitious I have now decided to change this theme a little.  I have now decided that whilst visiting my partners parents over the Christmas period I will use this time to visit a nature reserve run by the RSPB called Old Moor (Dearne Valley).


Being a keen ornithologist I visit Old Moor quite a lot and it really is a nice place to spend the day, walking round the reserve and watching the birds come and go.  There are a number of hides in the reserve which give you a great opportunity to get up close to the birds and get some great shots.  The land around the reserve is made up of woodland, lakes and grassland all offering a great habitat for many different birds.


In winter the reserve is an important stopping off point for Ducks, Geese and Swans plus approximately 8000 Golden Plovers.


Old Moor was originally one of the 32 coal mines in the Yorkshire area in which a majority of these were closed in 1989 if not earlier.  This particular mine (Wath Main Colliery) was closed on the 25 March 1988.


Here are a couple of pictures I have taken over the summer this year before starting the course, as with all my images taken before the course these were taken in Automatic mode.


The images above have not been edited or cropped and looking back at these since starting this course it is evident that composition, rule of thirds and framing were not always considered when simply pointing and shooting.


My first visit to Old Moor to start on this theme will be tomorrow, the weather tomorrow will be as follows;


Date

Time

Temp

Wind
SpeedGust
Visibility
Fri
16
Dec
0000
1 °C
SSE
1 mph
Very Poor
0300
1 °C
N
3 mph
Moderate
0600
1 °C
WNW
5 mph
Moderate
0900
1 °C
W
8 mph
Moderate
1200
2 °C
W
7 mph

19 mph
Good
1500
2 °C
NNW
8 mph

18 mph
Moderate
1800
2 °C
NNW
10 mph

23 mph
Good
Night
0 °C
W
7 mph
Very Good


The weather looks set to be quite good with good visibility, dry with some cloud and strong winds. In respect of this weather and the area I will be vvisiting I will be wearing appropriate winter clothing for the outdoors including walking boots and a warm winter coat as I expect it will be quite a cold day.  In addition I will be taking a flask of hot tea and a packed lunch. 


Hopefully I should get plenty of good natural light throughout the day which I will need as I will be shooting using Shutter Priority when capturing the birds and other wildlife whilst also using a tripod and a 75-300mm Telep-macro lens .  When capturing images of the reserve and the visitor centre I will be using various F stops, using a tripod and a 18-55mm lens.

Sunday, 27 November 2011

Week 9 (part one) - Red Theme, Homework

One of the discussions we had in class this week was focussing on colours and how to use these in photography, as a result our homework was to shoot images with this in mind.  I got out and about near where I live this weekend and also had a hunt around the flat for anything Red which I decided was going to be my theme after driving past the firestation.

ISO 400F/9, S1/60

ISO 400F/9, S 1/100

ISO 400F/5.6, S 1/160

ISO 400F/9, S 1/320

ISO 400F/9, S 1/60

ISO 400F/9, S 1/80

ISO 400F/5.0, S 1/320

ISO 400F/5.6, S 1/1000

ISO 400F/5.6, S 1/40

ISO 400F/5.6, S 1/500

ISO 400F/9, S 1/500

ISO 400F/5.6, S 1/60

ISO 100F/5.6, S 1.0

ISO 100F/5.6, S 0.8

ISO 100F/4.5, S 0.6

ISO 100F/4.5, S 0.8

ISO 400F/5.6, S 1/6

ISO 100F/5.6, S 1

ISO 400F/5.6,. S 1/10

During the day and as you can see from the above settings one of the elements which completely skipped my mind whilst shooting was the ISO.  As you can see I had set the ISO to 400 and never revisted this.  I can say in all honestly I'd simply forgotten to consider this when running around looking for Red subjects. 

Becomming aware of this later in the day I did then add this to my considerations when shooting subjects back home.  I decided to shoot close up (when indoors) and added light by using a bed side lamp pointing this from different directions to see what effect it would have.  I also looked at using white balance to see how this would impact on the images, I have added a few examples below.  These were all taken using the same camera settings changing only the white balance (ISO 100, F/4.5).


Week 8 Portrait/Street photograpy

Homework from Dave this week was people (street photography or portrait).  I think street photgraphy is one of those areas that when you try to do it, it becomes a lot more difficult than when doing it by accident or simply not trying.


I ventured out into the Christmas Markets at Manchester and trying to capture people without them knowing was tricky, I did manage to get some shots but have simply deleted them as they weren't very good at all.  I think nerves and paranoia kicked in here with some gruesome looking people, shovelling burgers and hotdogs down the throats, giving me the evil eye and looking very wary.  I will simply have to try this again and next time round be a liitle bit more blunt and just ask these people if I can take their picture.


Portrait Photography, this is a lot easier than street photography only you need people who are willing to have their photo taken.  When you do find somebody willing, why do they do nothing but pull silly faces and look ridiculous!


I came accross this description below which explains portrait quite simply:


Portrait photography or portraiture is the capture by means of photography of the likeness of a person or a small group of people (a group portrait), in which the face and expression is predominant. The objective is to display the likeness, personality, and even the mood of the subject. Like other types of portraiture, the focus of the photograph is the person's face, although the entire body and the background may be included. A portrait is generally not a snapshot, but a composed image of a person in a still position. A portrait often shows a person looking directly at the camera.
Unlike many other photography styles, the subjects of portrait photography are often non-professional models. Family portraits commemorating special occasions, such as graduations or weddings, may be professionally produced or may be vernacular and are most often intended for private viewing rather than for public exhibition.
However, many portraits are created for public display ranging from fine art portraiture, to commercial portraiture such as might be used to illustrate a company's annual report, to promotional portraiture such a might be found on a book jacket showing the author of the book.


Capturing somebody's personality is one of the objective's of portrait and with not being able to get out and about to much this week I decided to shoot some images of my partner and then some more of my families children.  I find that when using children as subjects it is a lot easier to capture their personalies as they are not concerned about how they will look in a way that adults are.


So here is Dan sleeping which is soemthing that definately represents his personality and like most people must have a cup of tea before getting out of bed in the morning.  I have used aperture priority using various Fstops with an ISO of 400, I have edited these slightly using B&W and adding light/dark vignettes to create a sleepy feel to the image.


F/4.5, S 0.5sec

F/11, S 1.6sec

F/4.5, S 0.5sec

F/ 4.5, S 0.5sec

F/9, S 1sec

F/9, S 1.6sec

F/7.1, S 1/4 sec

As i said above using children as subjects seem to be a lot easier and I find the images appear to be more natural with no staging as with adults. Here is my niece and nephew playing with the family pet, again I have edited slightly by cropping, adding vignettes and using B&W.